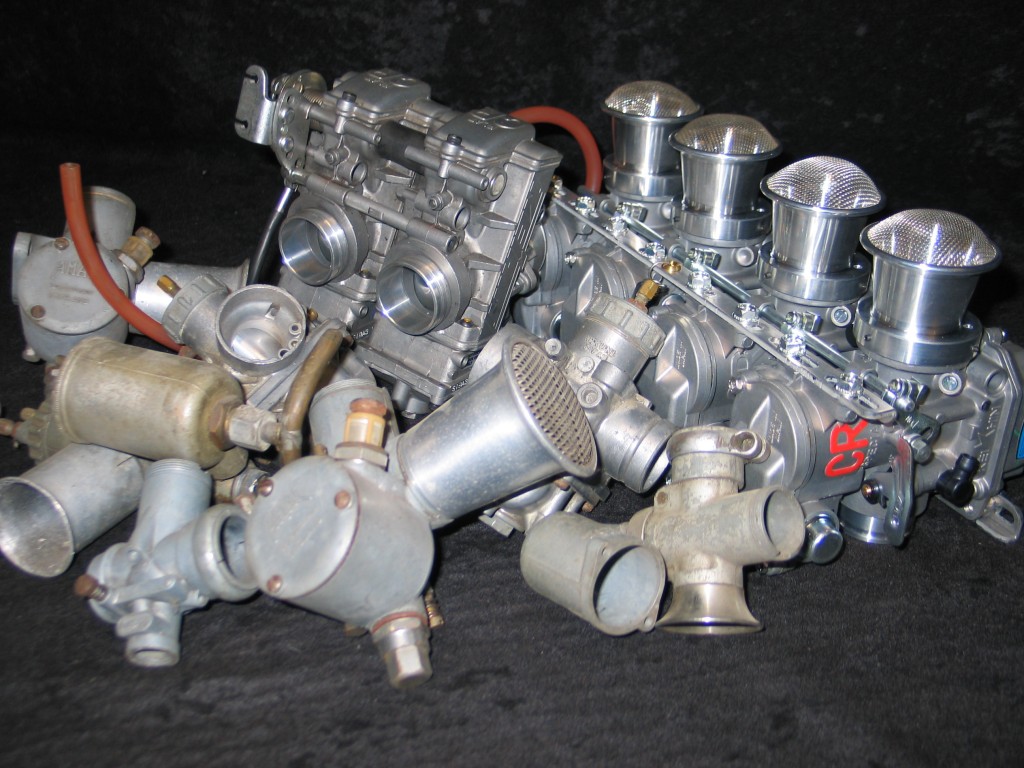
Carburettors – not that scary, just time and patience
With any carburettor restoration the first thing to do is assess the carburettor and see if it is actually worth restoring. The cost of restoration could be more than buying a new one. However if it is a hard to find one or expensive to replace then its generally worth restoring. Lots of the carburettors I have restored fall into these categories and are usually very rare or very old, therefore worth restoration.
The first step in restoration is to dismantle it. Take detailed notes on the position of all the parts and note the settings, whether they are right or wrong. A digital camera can be used to help make these easier, as a picture can tell a thousand words. The settings you get the carburettor in may not necessarily be right, but they will be a starting point. Lay all the parts out in some order that will recognise or do a sketch with arrows pointing to where parts go. Bare in mind that on old carburettors that common thread sizes were used for many jets in one single carb, so it can be easy to get them fitted in the wrong holes when putting it back together.
The next thing to do is systematically clean all the parts. I always start with the major parts, the float chamber and top half. The kindest way of cleaning and getting a great natural lustre is aqua blasting, whatever the carb is made of, brass on early machines or monkey metal on the later types. Aqua blasting is a non abrasive cleaning system that won’t remove any metal, but restores the metal giving it a durable surface that is very resistant to oxidization. Aqua blasting can be used to clean jets, needles, float valves and pins without destroying surfaces or intial sizes.
When all parts are cleaned, inspection can take place for any wear or manual damage that may have been caused by tinkering. Ignitions are often blamed for poor running, but a spark can be seen or felt. An amount of fuel passing through a carburettor is a little harder to govern.
There are some points to take into consideration regarding weld repairs to carbs if the main body leaks. Early brass carburettors are easy to weld and repair as they are generally made of quite high purity metals. Soft solder or silver is best for these. Some of the later carbs were made from zinc aluminium casting, mazak, or pot metal ( the material they used to make cap guns from). Great care must be exercised when repairing these. If it is an early mazak carb it has probably had a lot of fuel ingress in the metal. You may find that if you try and repair these with aluminium welding, TIG or gas, lumps may explode from them. A good indication of fuel ingress is on gasket faces. If under inspection you find cracks or de-lamination evident, then under no circumstances should it be welded.
Lumiweld is a low melting point alloy and the manufacturers says it can weld anything alloy. This is however not true on old mazak carbs, but is successful on later types of carb that use a little less zinc to aluminium ratio. If it cannot be welded there are some good metal adhesives on the market. I have tried most, but for carbs of the mazak or monkey metal variety I use a dental resin that works admirably well. Even stripped thread can be repaired with it.
Thankfully a lot of the inner workings are of brass. Jets are fixed objects, just controlling petrol flow, and the other bits tend not to wear to much, just needing a re-seating with a fine grinding compound, with a good clean afterwards of course. Remember that cleanliness is paramount in the fuel system governor. Sometimes, not usually, the butterfly valve shafts are worn and let the air ingress messing up the air fuel mixture. These can be remedied using bushes of any resilient material, brass or plastic, but it is very difficult to get things perfectly in line to give a smooth operation.
When all parts are clean and inspected you can start on the reassembly. This is quite simple as long as you have kept your notes, sketches or photos. New seals and gaskets should be considered when reconstructing the carburettor. I always tend to fit thin gaskets, but if thick gaskets are fitted then I would consider they are to take up deficiencies in badly mating surfaces, like trying to stop leaks on the join between the float bowl and carb top. These two surfaces should be perfectly flat. I usually file and then finish the faces on a dead flat surface plate using fine grinding compound to take off the absolute minium material. On old mazak carbs this is OK to do at the machined faces of the float bowl and carb body are usually swollen with petrol ingress. Its best to grind of the two surfaces leaving a slight witness of the old surfaces, thus ensuring you have taken of the minium material. A thin gasket with a little petrol resistant sealant on both surface can now be fitted. When bolts are tightened using thick gaskets it is worth remembering that the bolt head size dictates where the gasket is being compressed. If you had two bolts 1″ apart and you tightened them to a couple of pounds, the intermediate gasket space in between the bolts would seal. If you now applied more poundage on the bolts the more distorted the gasket would become and therefore the less sealing capacity you would have between the bolts. This is why I advocate thin gaskets on carburetors.
Please note, we do not stock carburetors but we can buy them in and service them fully or restore them to new. Best thing to do is buy one on eBay and have it or some pictures sent to us so we can give you a quote as they come in all different conditions.
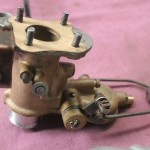
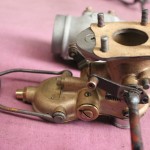
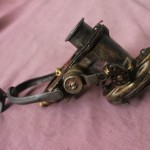
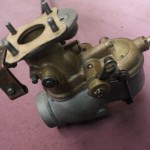
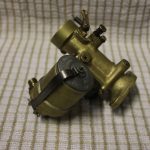
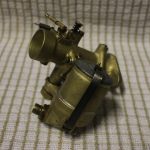
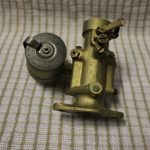
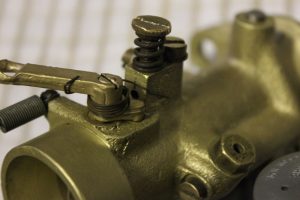
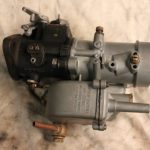
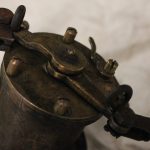
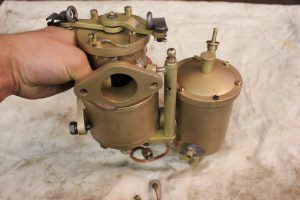
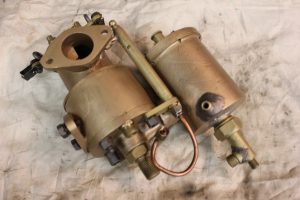
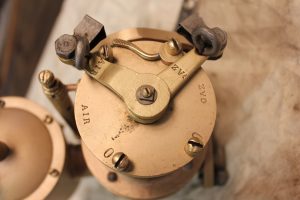
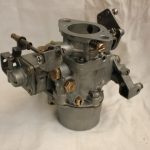
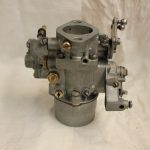
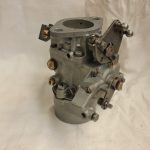
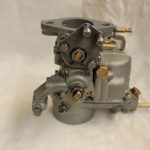
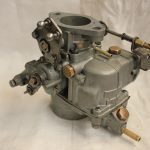
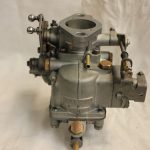
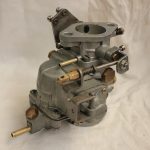
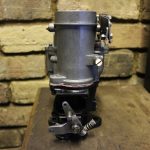
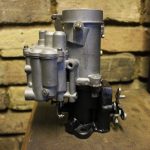
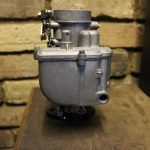
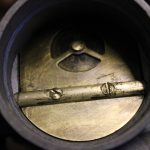
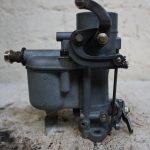
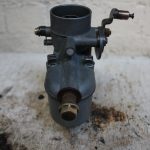
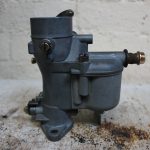
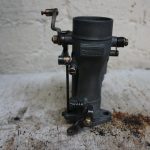
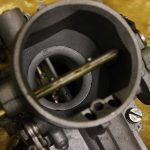
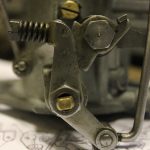
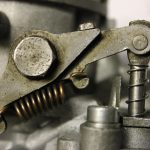
- refurbished Zenith
- refurbished Zenith
- refurbished Zenith
- refurbished Zenith
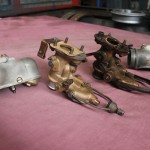
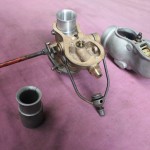
- before refurbished
- Before and after refurbished
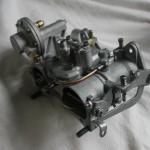
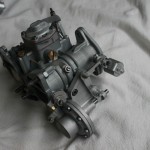
- refurbished Zenith
- refurbished Zenith
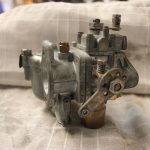
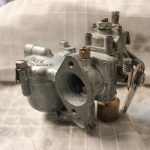
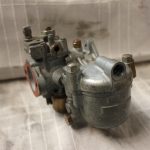
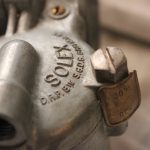
Below is a Solex carburettor we restored for a mercedes Benz.
Below is a Smiths carburettor fully restored on the 26th March 2018
Below is a Zenith Stromberg DBVA 42 from a 1950 Austin Princess A135 DS2, 4 liter VP that we restored on the 8th august 2018.
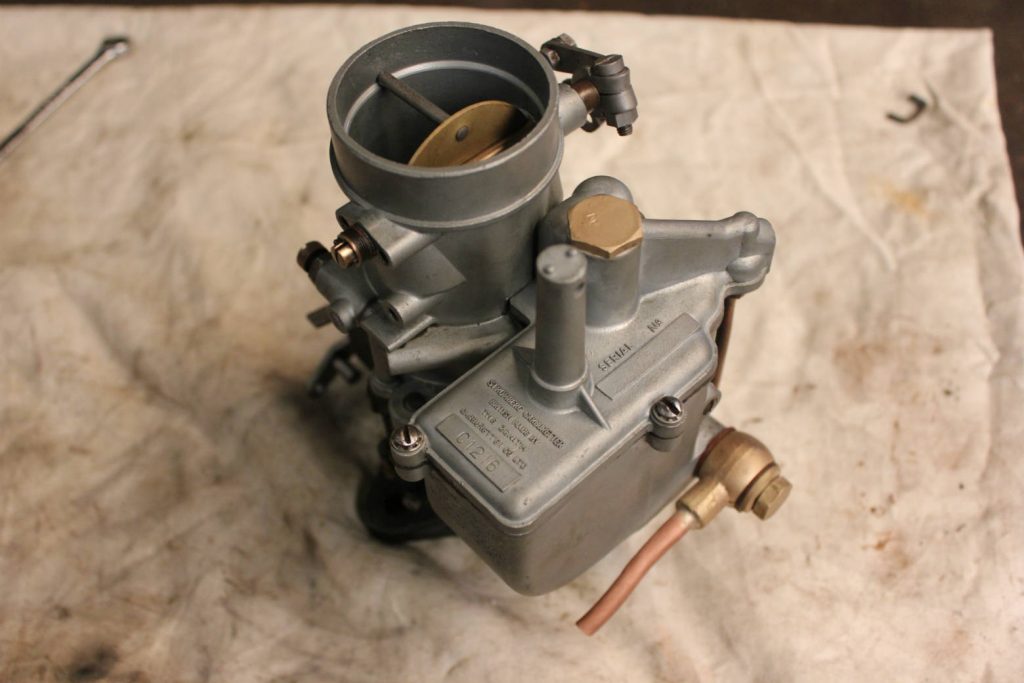
Below is a very large carburetor Aster that we restored “series B34”, it was finished on the 9th August 2018.
Aster series B34 before restoration
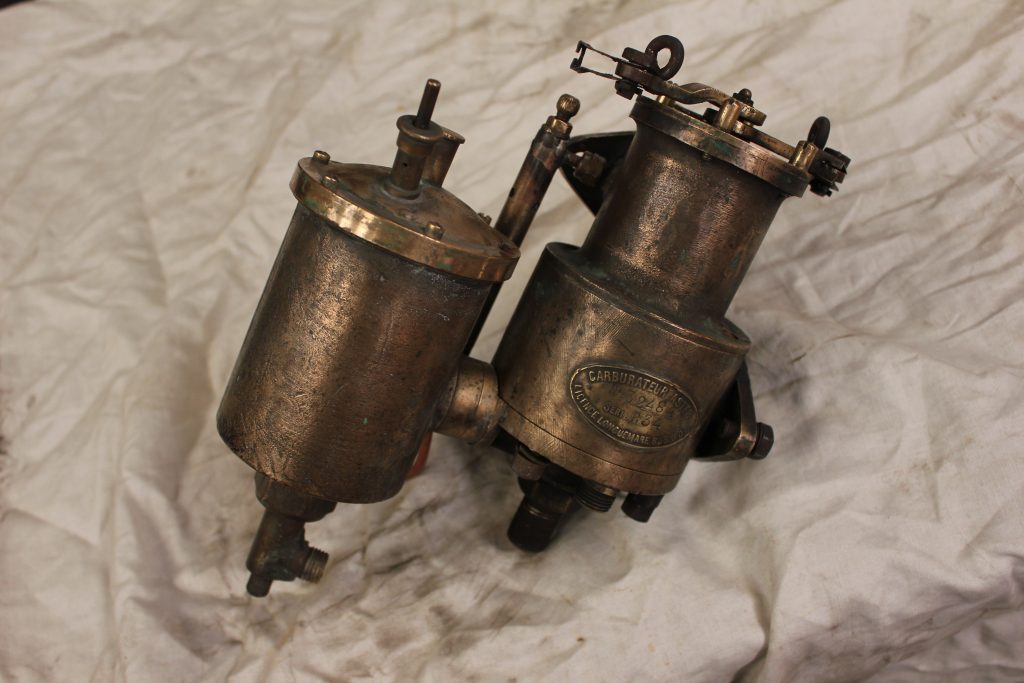
Below are the images after it was finished.
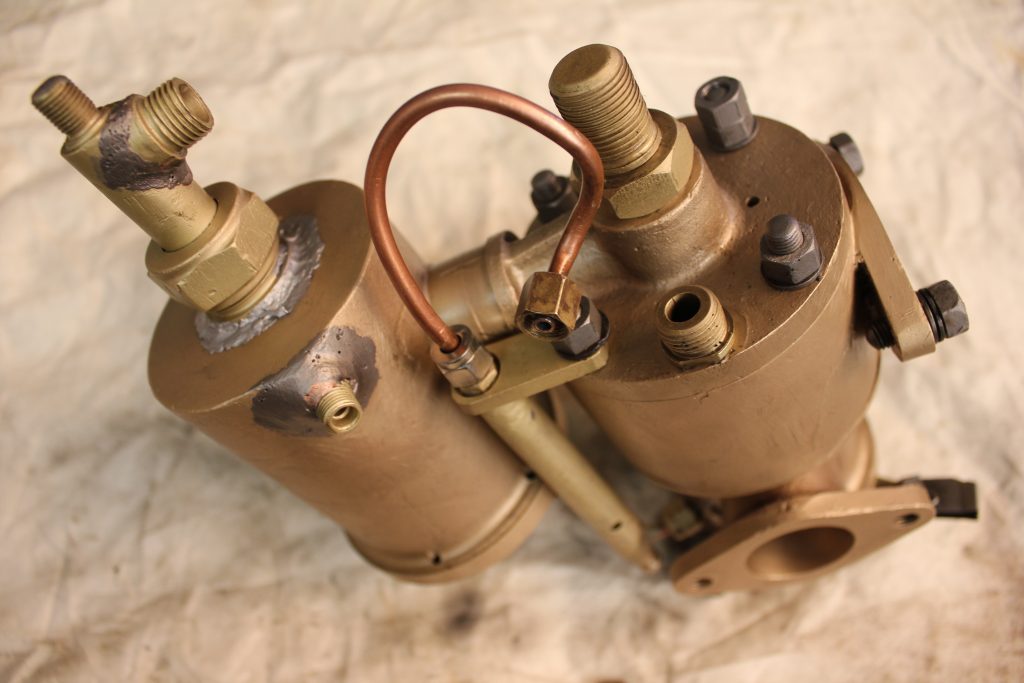
Below is a carburettor from a tractor he posted it to us, it has been restored internally.
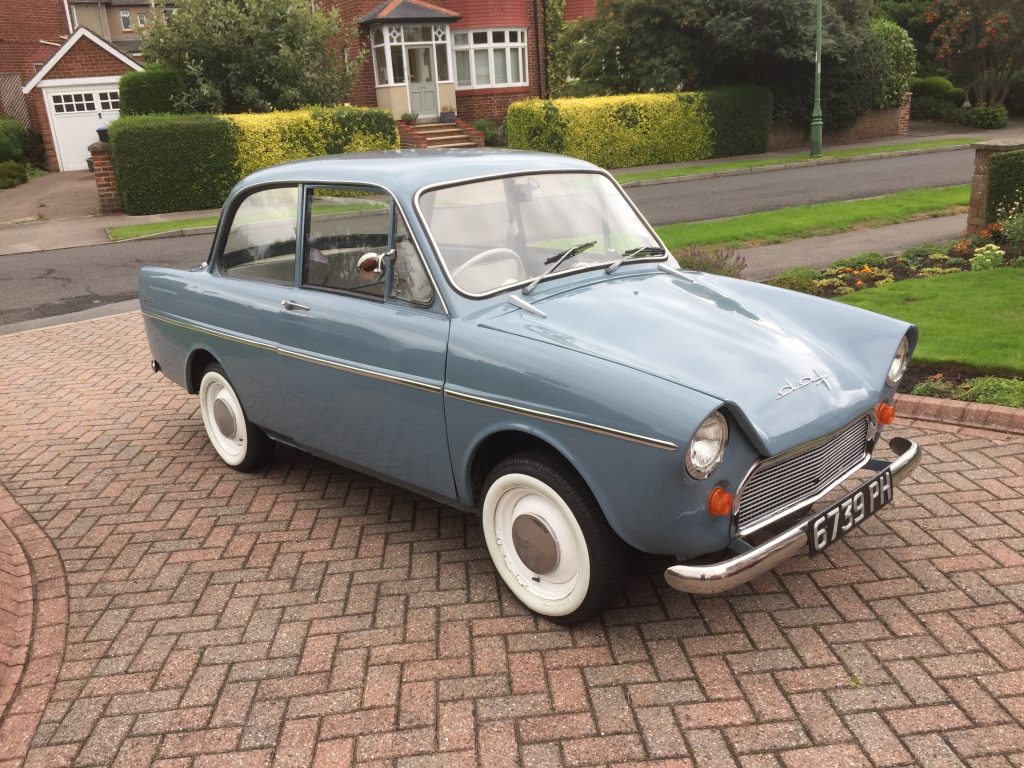
Below is a Solex carburettor from a DAF 750 1962, 2 cylinder flour stroke engine that will be coming in for work.
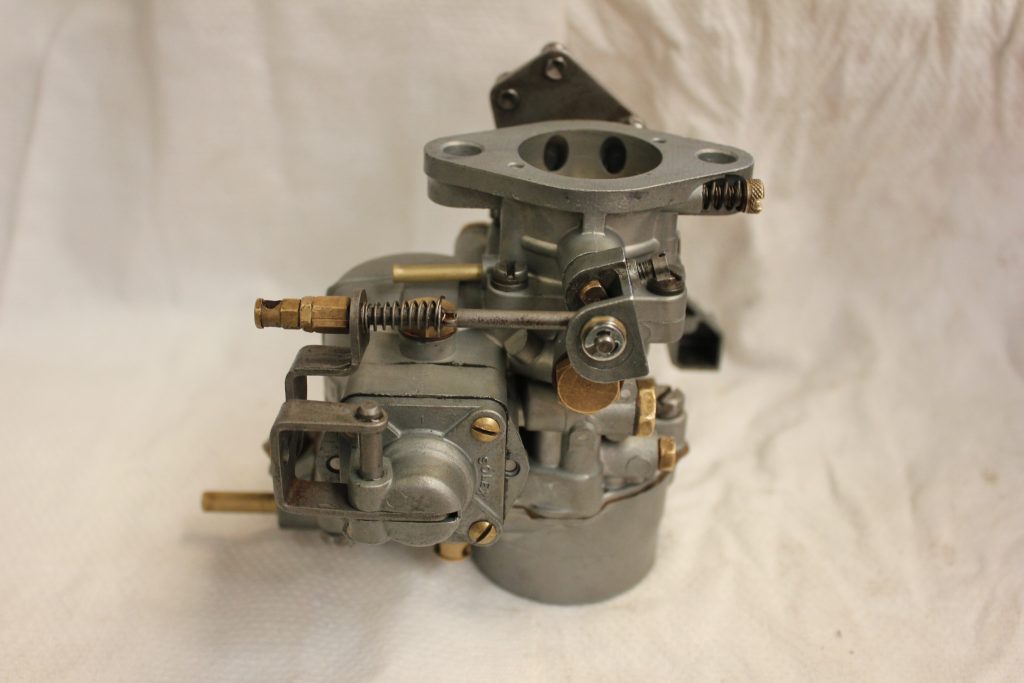
Below is a Solex 34 PB1 that has been full restored.
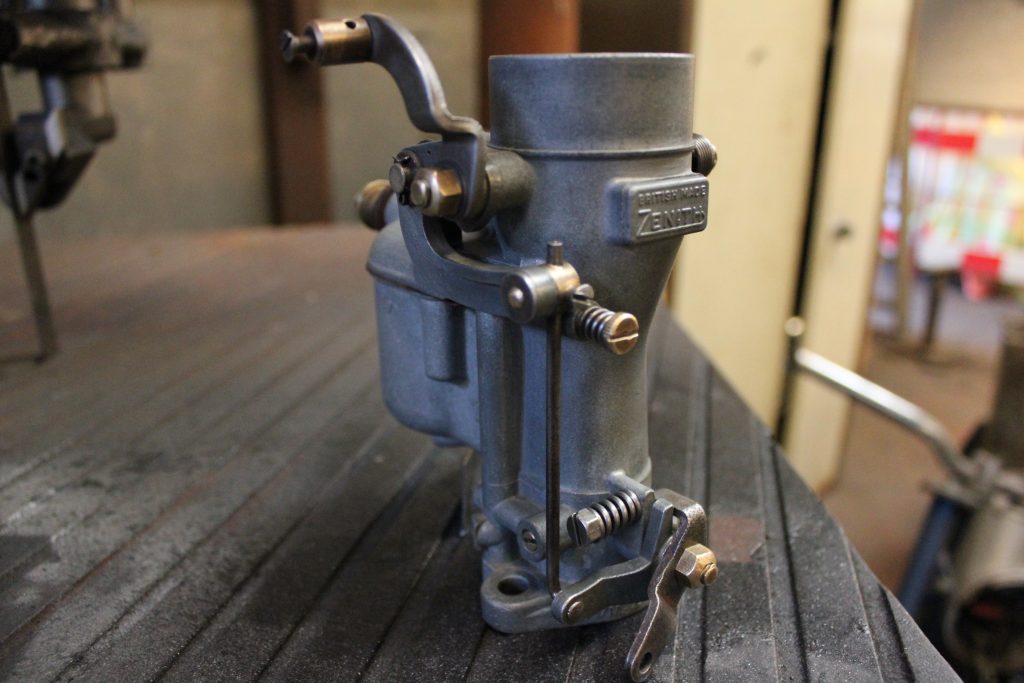
Below is a Zenith 28 G that we refurbished and made a new brass butterfly shaft.
- Old butterfly shaft is on the left
Below is a Dellorto VHBZ 26F that we fully restored, dissembled, aqua blasted, brushed, dried, blown out, checked through, assembled and set.
- Dellorto VHBZ 26F
- Dellorto VHBZ 26F
- Dellorto VHBZ 26F
Below is a Stromberg DBVA36 refurbishment

Below is a Zenith 30vm-4
Below is a Solex carburetor awaiting restoration

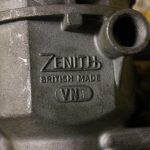
Below is a Zenith 42VN Vauxhall Cresta Carburettor
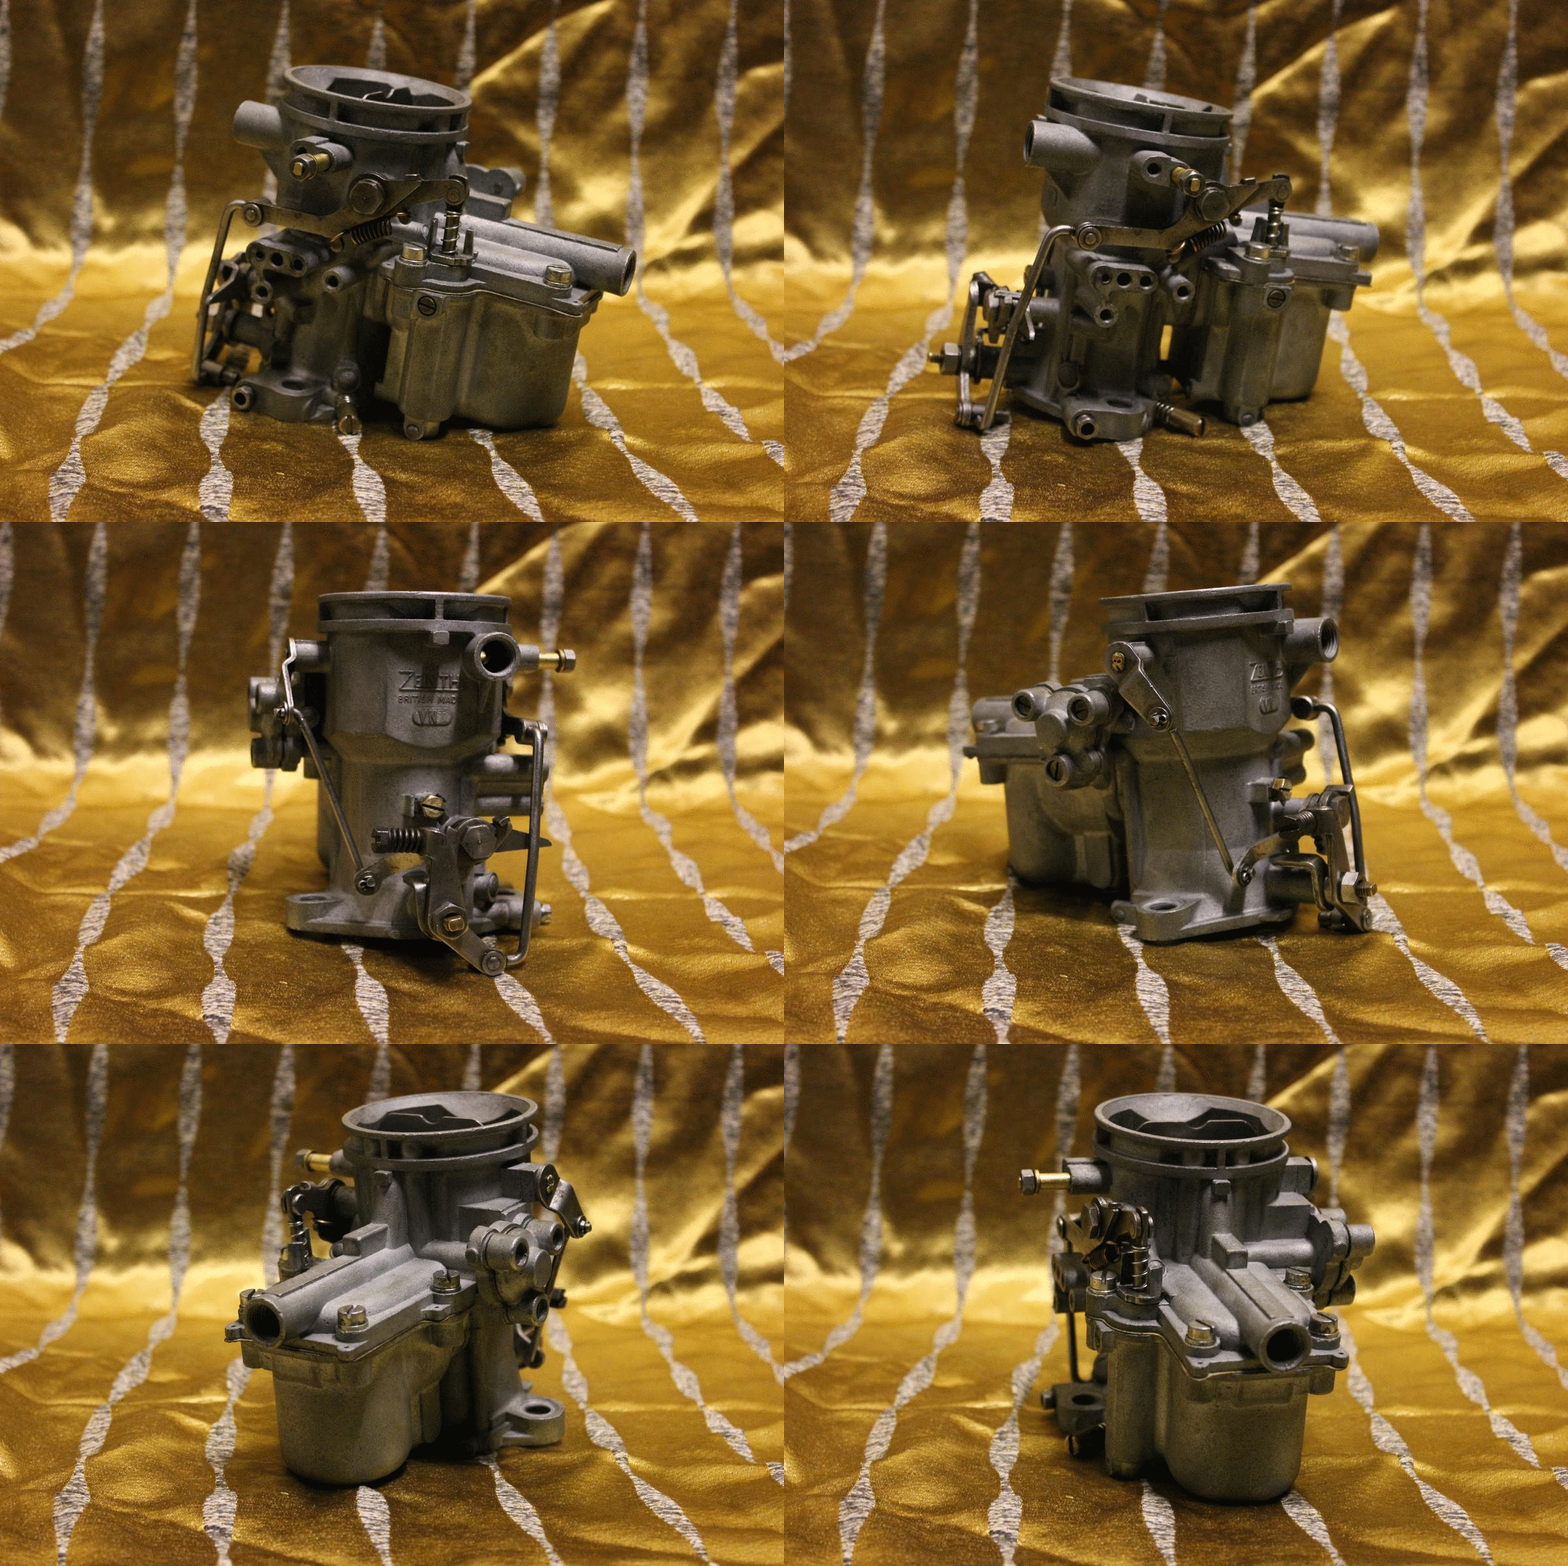
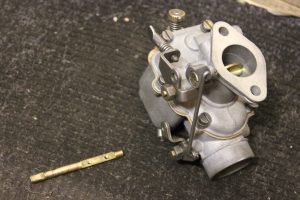
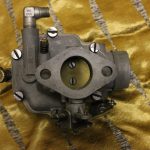
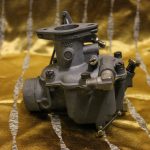
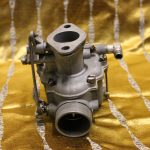
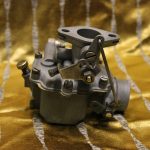
Below is a Zenith 28G Carburettor from a MF 35 Tractor
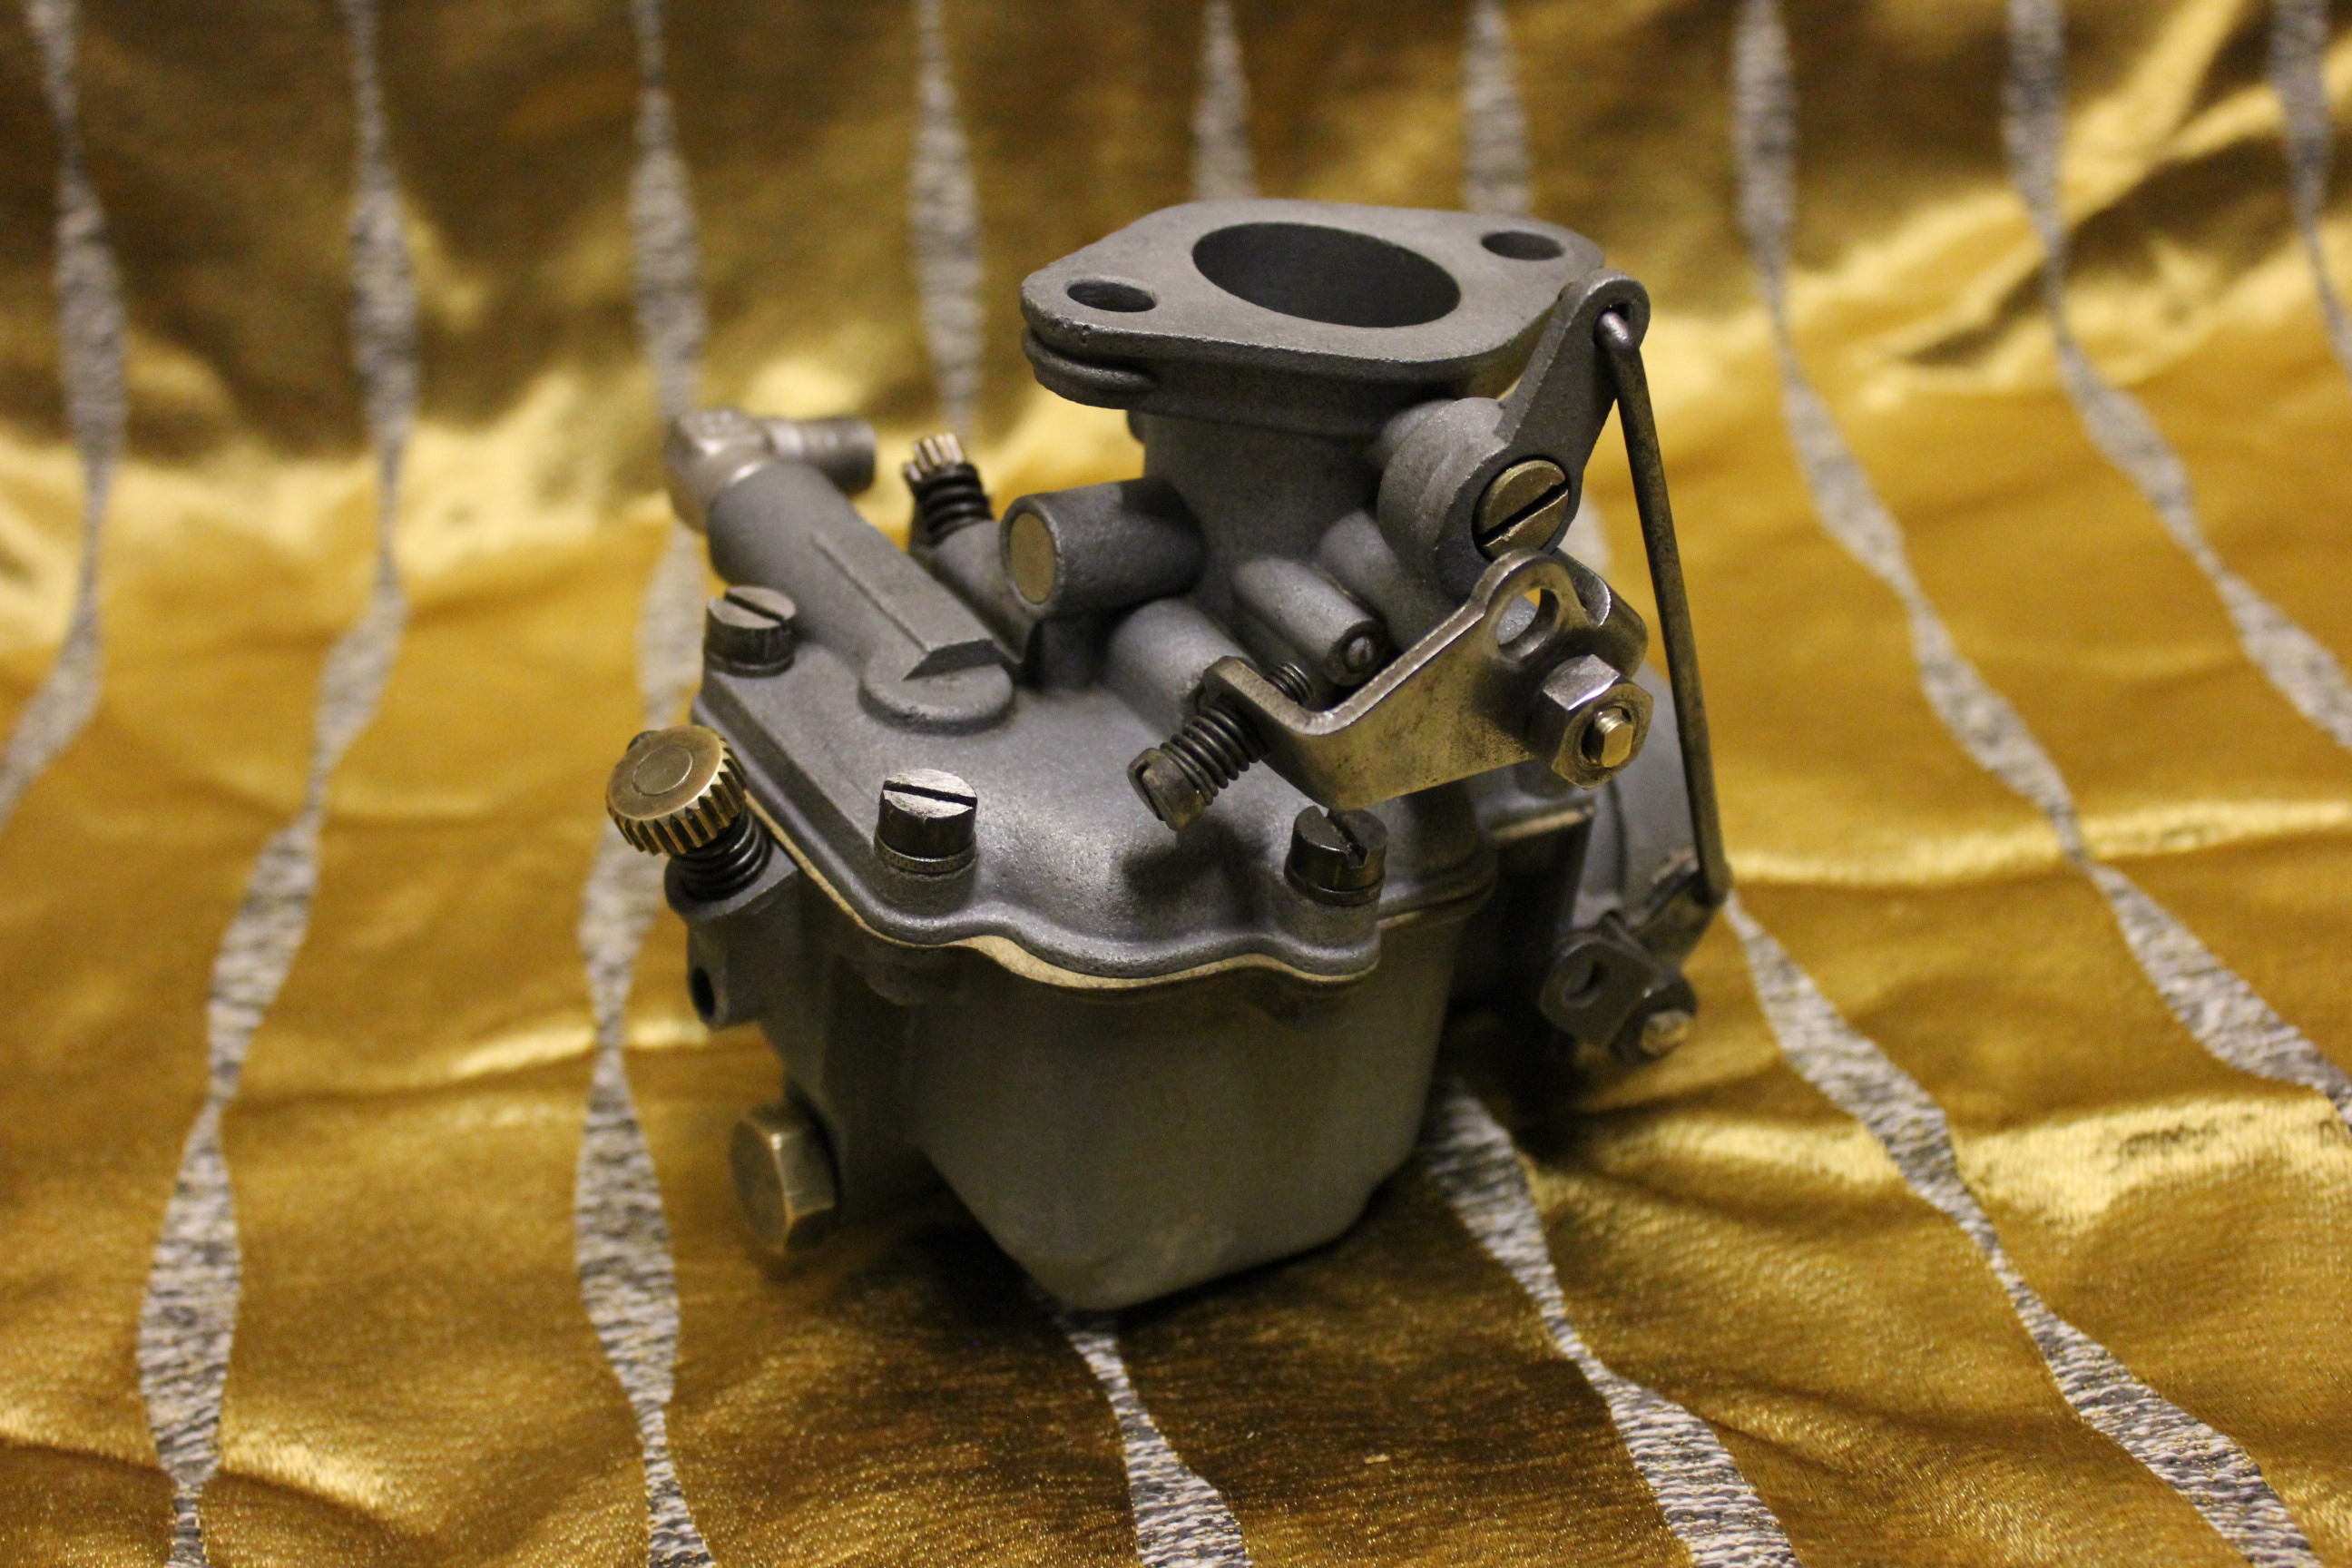
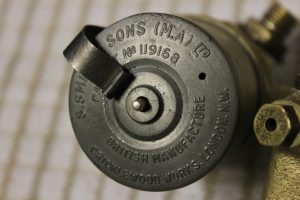
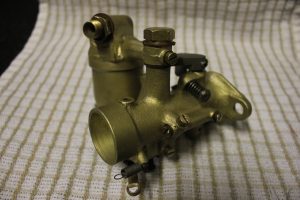
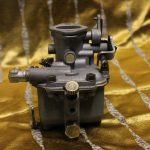
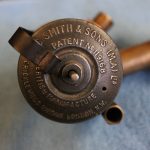
Below is a smiths and sons carburettor
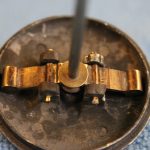
This carburetor had some small lugs broken as the owner attempted to do some adjustments. the new lugs are pinned using hand made staples that support the outside of the butterfly bob weight spindles.
They were then built up using ethanol resistant resin and re drilled. The lugs being so small were impossible to weld without parts going into meltdown. the barb initially had flooding problems. the problem was found to be a bent float needle and a poor taper.
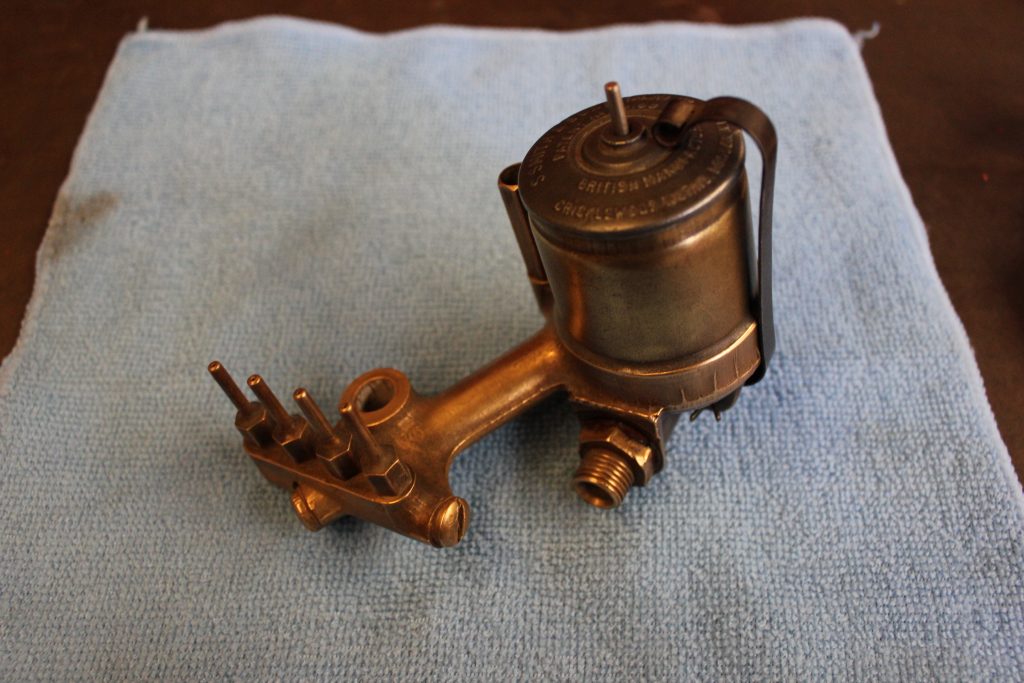
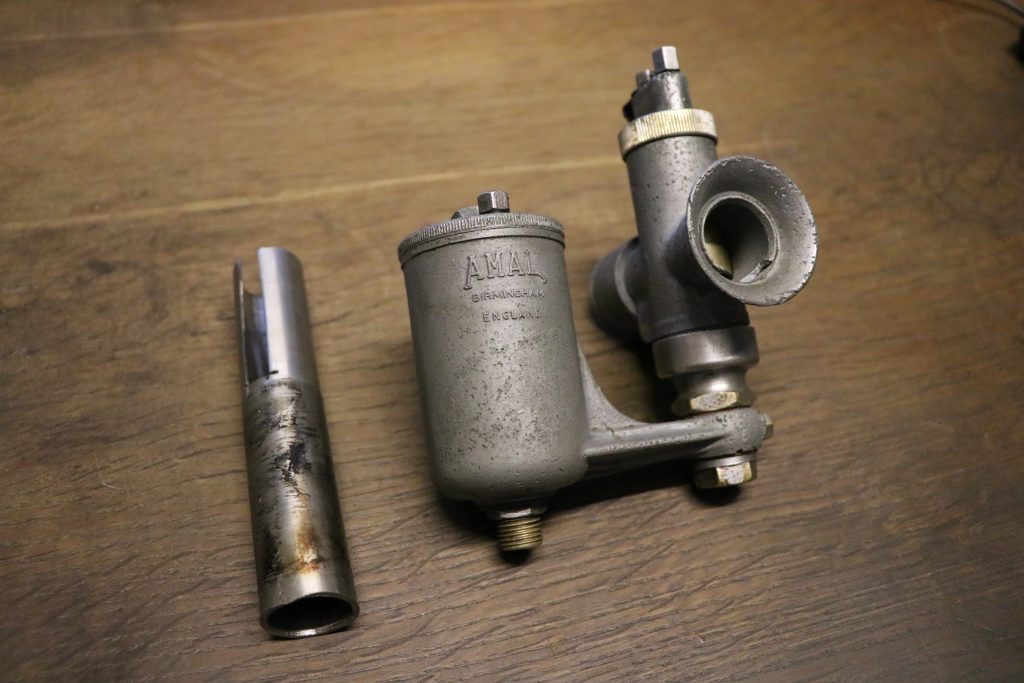
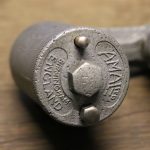
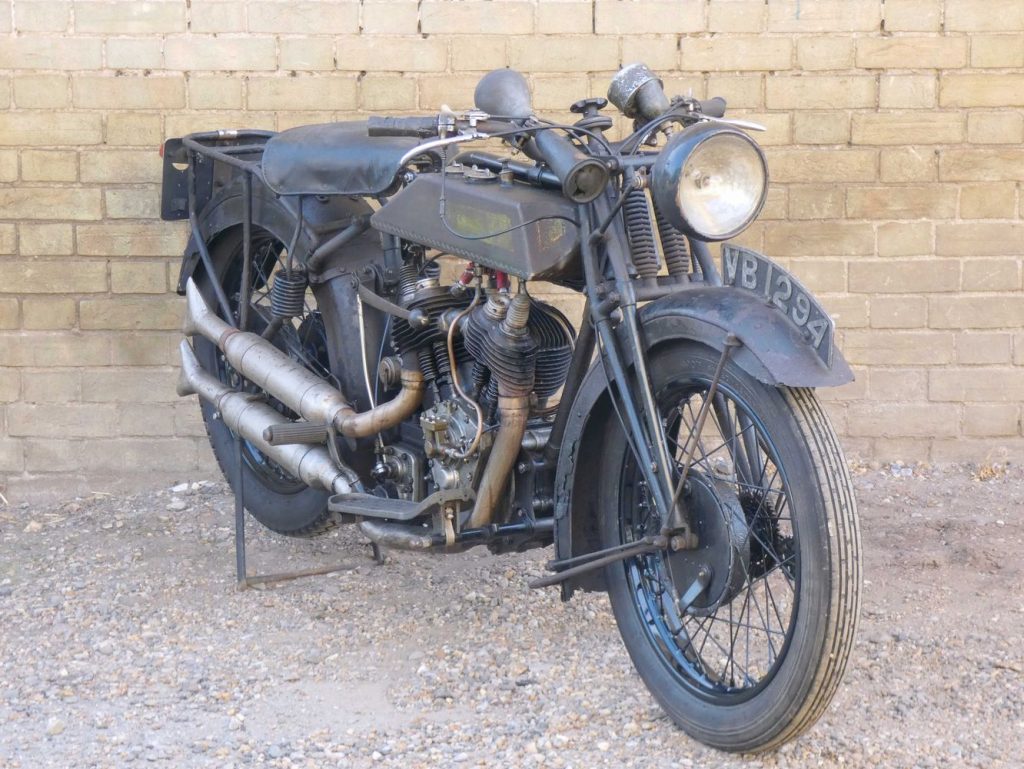
Below is a Amal Pre Mono-bloc sensitively restored to maintain as much patina as possible. It is from a Royal Enfield 180 also pictured below.
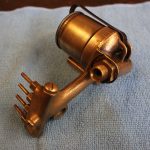
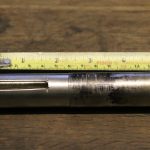
The jot block was very stubborn to remove because the jet bock retainer had swagged the threads into the annular recess at the bottom of the jet block.There is only one way to remove such a stubborn obstacle. If any other tool is used other than the one pictured the block would surely be deformed. Of course for different size jet blocks you will need one of these tools to suit.
Below is a query about a AMAC 30PJY Carburetor fuel level.
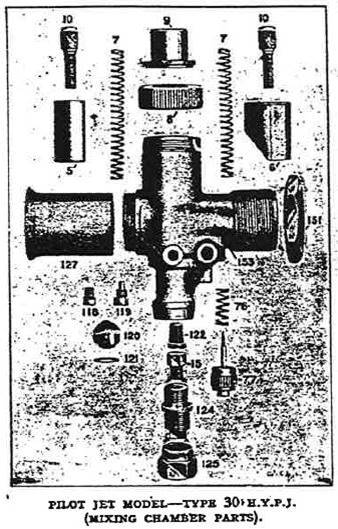
I have a 1926 Raleigh Model 14 (2.48 h.p.) which has an AMAC 30PJY carb on it like the picture where should the fuel level be set? I’ve seen various threads that would seem to suggest it should be just below (by an 1/8th of an inch?) the top face of the main jet (i.e. part no 15, in the diagram above), but is that the case with this model of carb? I only ask, because I don’t think I have the correct float bowl for this carb, so the fuel level sits higher than I believe it should by about 9mm (i.e. just under the sprayer). I can get over this with a bit of engineering to bring the fuel level lower by the required amount, but I’d like to know I’m along the right lines before committing time and money!?
Answer
I always set the level of fuel to just above the main jet but not much , say up to a 1/16th of an inch.
Below is a 1929 Rover AMAL HHR 26 Carburettor
Question
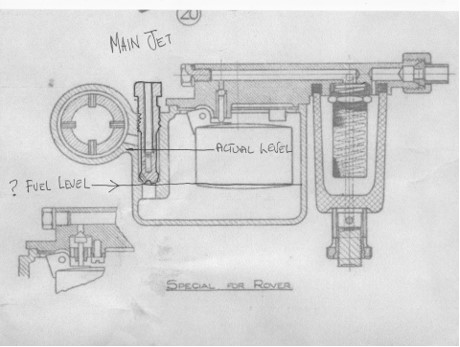
Hi, Hoping you may be able to help me with my AMAL HHR 26 carb off my 1929 Rover 10HP. The problem is I think the petrol level in the float bowl is to high despite new float and re seated needle valve ( In the Rover it is a cone, shape peculiar to Rover of the 1920’2) Petrol level seems to be to high up the main Jet having fitted a weaker jet the engine still runs to rich. There is not any adjustment for fuel height other than a dab of solder on the float to actuate the needle valve earlier. The carb is in good condition otherwise and is not a wreck. I have included a print of the carb and marked the actual position of the fuel and where I think it should be…… but I could be wrong !!.
Your help in this matter is much appreciated.
Answer
Where your question mark is , I would go a little higher to cover the tip. When fuel sloshes around to and froe, you do not want the jet to suck air, where it is at the moment is way to high and will definitely cause flooding and richness.


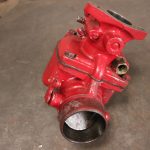
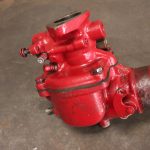
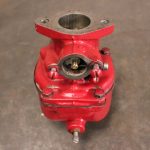
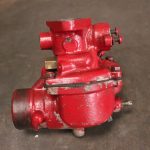
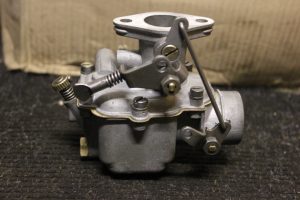
Any motorist will know that, no matter how much money you pay for a car, how new or old it is, there will always be something that can go wrong. It doesn’t matter how rare the fault is, or how well the car runs most of the time, eventually something can go wrong – and when it does, you often find yourself having to hand over plenty of cash to get it repaired. Skoda Repair Manual
I do not believe I have seen this described that way before. You actually have cleared this up for me. Thank you!
Great stuff from you, man. Ive read your stuff before and youre just too awesome. I love what youve got here, love what youre saying and the way you say it. You make it entertaining and you still manage to keep it smart. I cant wait to read more from you. This is really a great blog.
Im going to tell you now, I believe im adding you to my favorite writers list. This is such a great post and really hit the nail on the head for me. Please keep it up. Your readers appreciate you.
Just tidying my ’77 Suzuki up and Im mostly happy, though I got to pondering on tidying my carbys up due to the 25 years worth of grime etc. Upon soaking for 2 days in laquer thinners, I noticed that what appears to be “anodising” is spotty and eroded. I have been told that these carbs (Mikuni’s) are actually a blend of magnesium/alloy though, and cant be anodised??
They certainly appeared to be anodised from the factory and the finished surface was never treated with any form of paint (clear or otherwise) so I got to looking around for further info on anodising or painting them.
I just cant find anything, so I was wondering how can I actually tell if they are alloy or mag/alloy?? And what could I do with them to tidy them up like the rest of the bike??
Pingback: payday loans uk
Thanks a lot for sharing this with all folks you really understand what you’re speaking about! Bookmarked. Please also seek advice from my web site =). We will have a hyperlink change contract between us