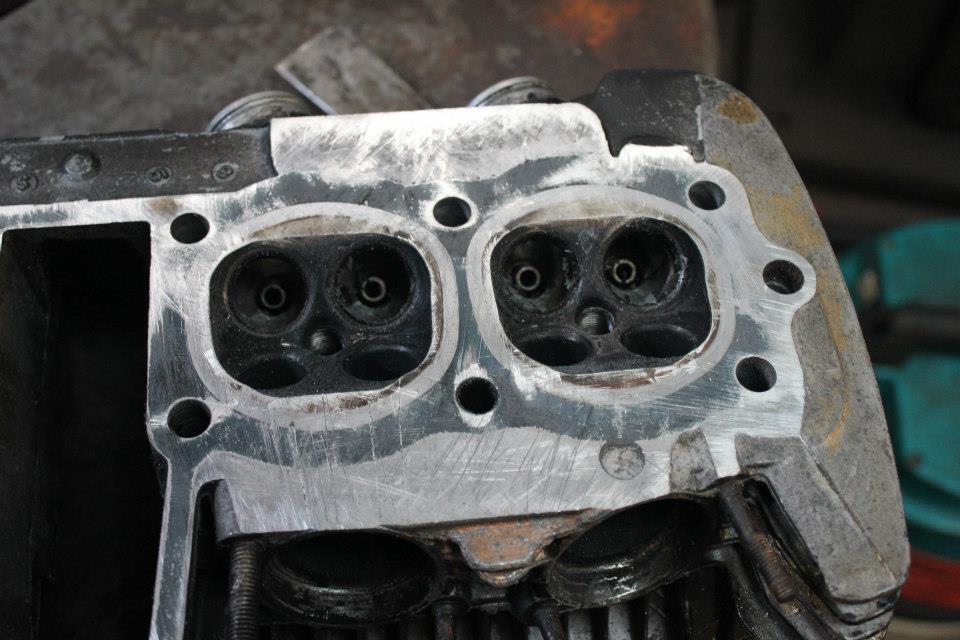
At first sight the engine looked in fairly good condition painted in heat proof black spray, with no apparent oil leaks. The engine also seemed to be devoid of those horrible marks and nicks left on cover joints when they have been more then caressed away from there gaskets. The customer informed me that she was blowing an oil mist from the pipes. And the engine had been rebuilt at high cost. The customer left having given me a workshop manual to work from, even though i didn’t need it, as I have rebuilt so many of these, and just a top rebuild could be done blindfold. Anyway, I dived into the top end with gusto not after having noticed broken fins on the top and bottom of the barrel. “Hmmm, overzealous prying apart of that barrel base gasket that sticks like glue.
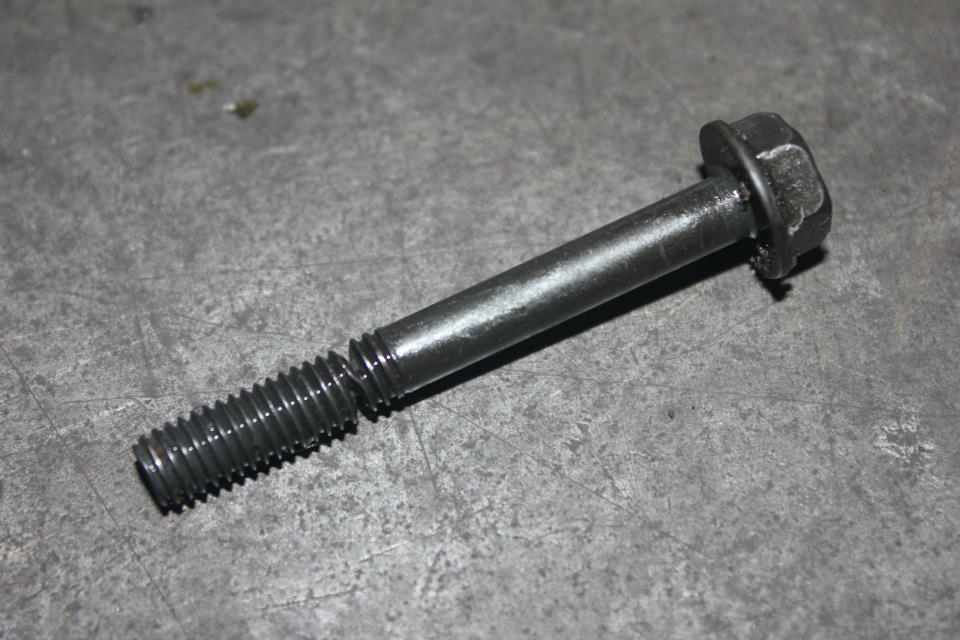
Another common problem if you don’t use the correct tools, such as a torque wrench is over tightening bolts that require a torque setting. Here is a picture of a bolt that has been over torqued from one of the camshaft caps as you can see it has nearly broken in half.
Top end gaskets need time to peel off from there faces on Honda 4s, so gentle but firm persuasion is requires being care full with those fins. If you look for levering places you will find several on the head and barrel where some fins are supported with a web of material beneath them
When top end gaskets are split they tend to devide or delaminate, sticking to both faces making them difficult to remove. The best way is to scarape them very carefully with a blade being care full not to unduly make the aluminium faces. “Boring job.
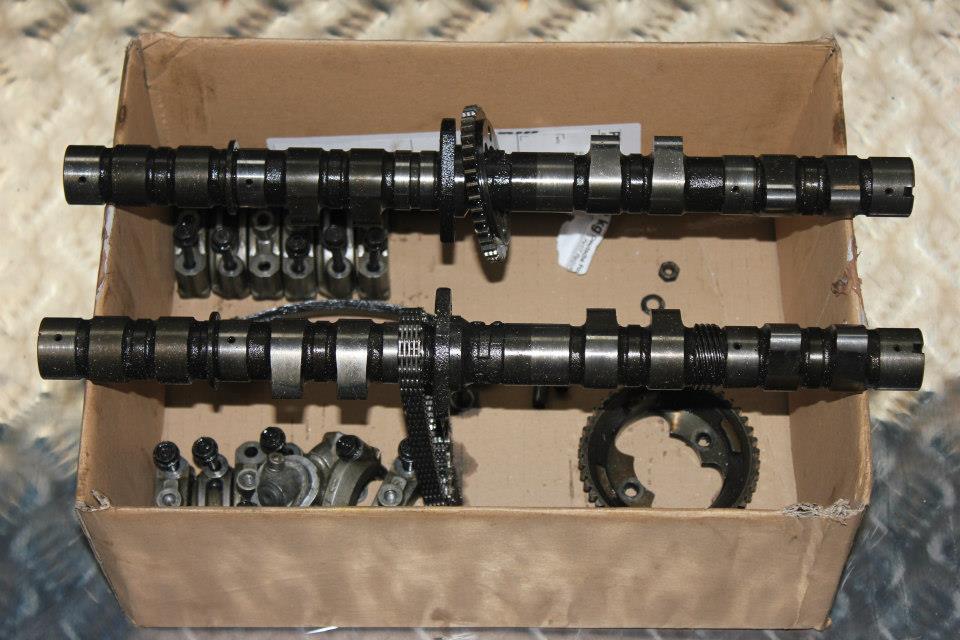
Camcover off cams out, journals inspected and all found to be good. It was time to remove the cylinder head. On inspection it was found that there was a pool of oil on the number 4 piston but all pistons showed wet sooty black carbon on there crowns. The first thing to do is inspect that the top and second ring in number 4 were the correct way up.
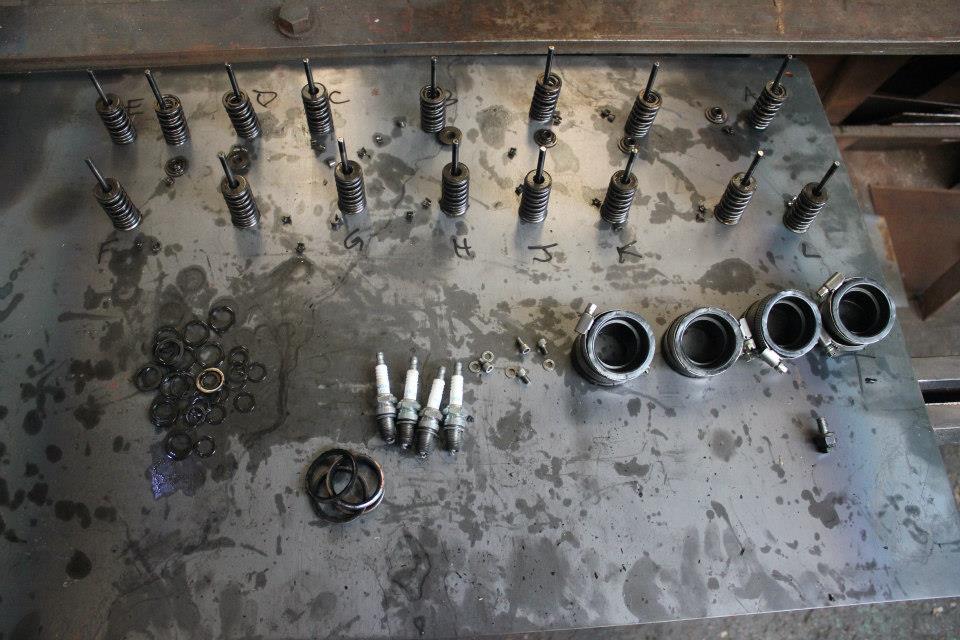
Next was to remove the valves after having taken the tappets out of there bores. It is well worth watching what valve compressor one uses because the valve collets and collet holders are set well down in to the tappet bores, the bores can easily be scored when compressing the valves, so make sure that the compressor body has no protrusions and that is well clear of the tappet bores.
Lay all your valves and associated parts in order, valves should not be mixed up even though they all look the same. On a low mileage rebuild such as this one, hours can be saved on reshimming them.
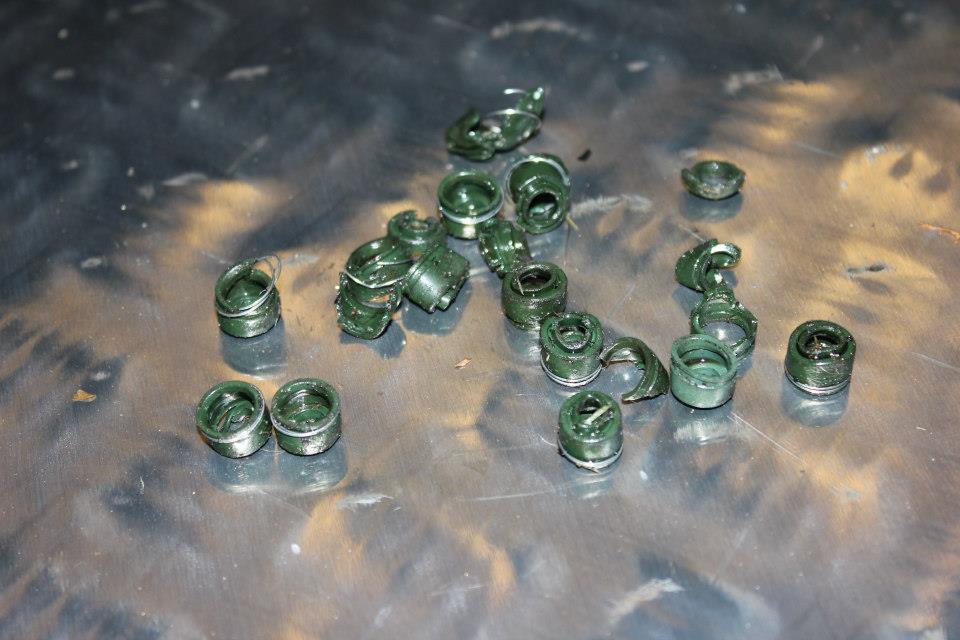
The next thing to do is to remove the valve guide seal’s. in all Honda 4s these seals have to be in good condition and of good quality , there appear to be some rubbish ones on the market. Dave silvers ones are good and reliable.
After removing one seal I found it to be very brittle and crumbly with very little elasticity. From the outset I concluded that these little pieces of rubber held on to the valve guide with a spring would be the cause of the oily mist exuding from the exhaust pipes. These rubbers are quite commonly looked at as unimportant as the valve guide will give a good enough seal, not so, as we have had many Honda 4s that have been home built with every gasket and seal changed except valve seals.
The customer called for aquablasting to be done on the head and barrel, this was duly carried out, ready for the fine to be welded back on.
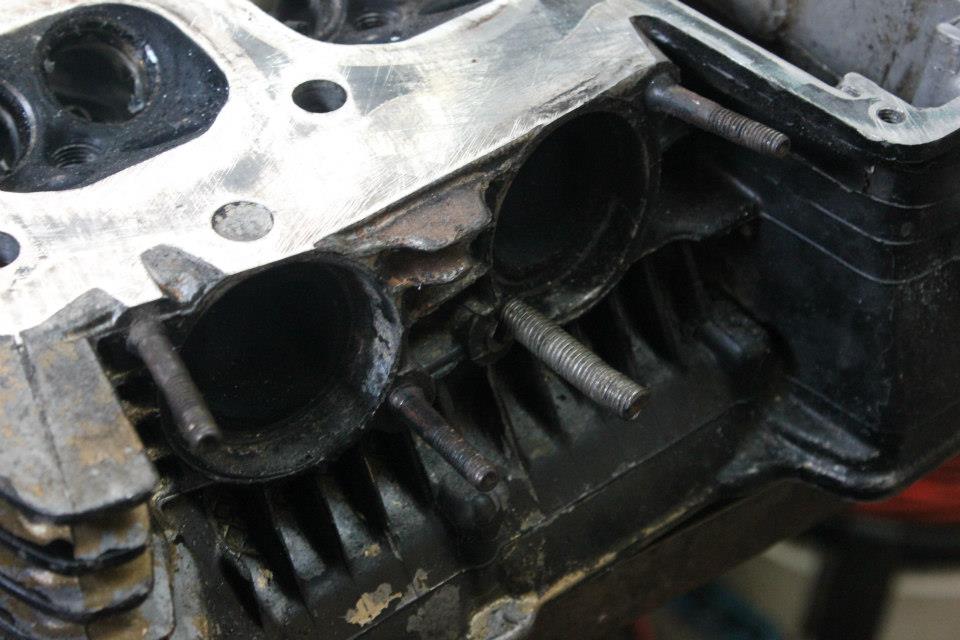
Another very common problem is the exhaust studs in the head to be stripped of thread or the tapped hole that stud screws into strips out.
Problems occur when some home bodges creep into this area. Here is what I’ve got to deal with.
Firstly some studs have stripped the thread in the casting and have been drilled out to take a length of mild steel galvanised studding. Studding is no good for anything on motorcycles as it does not posess the correct mechanical characteristics. In this case we can remove the homemade studs and helicoil the casting threads. The remaining studs are bent and worn and will have to be remade using 55 ton tensile strength steel or En 19t which we stock as standard.

