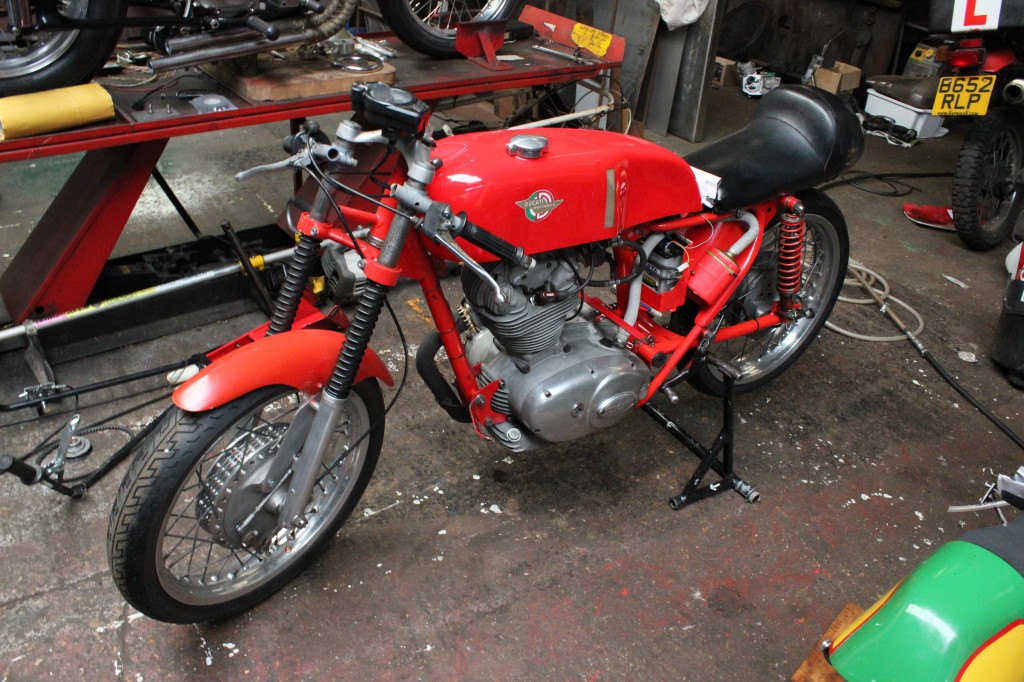
A customer took possession of A Ducati 250 mach 1 and bought it as a runner. After several attempts at starting it by bump starting and roller starting it would not start so he was asked to give Stotfold engineering a look at it.
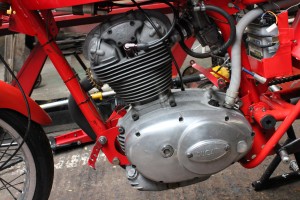
the engine looked as though it had been shot blasted but it had lost its fresh look and had given way to an unkempt, laid up look. It looked as though the engine had languished on or under a work bench and had just been put in its frame.
As I have said in past blogs a lot can be learned from the visual inspection of such things as gasket edges. edges of casings and screw heads. This duke appeared to have had care in it’s past life. 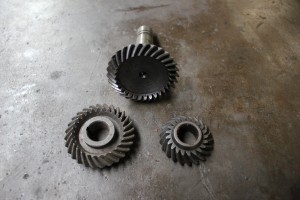
I thought the best part to inspect first was how well the top bevels were set and meshed. The bevels top and bottom are a critical point as if they are meshed incorrectly they can be quite noisy .Bevel drive gears can create a whining sound this is due to tightly meshed gears, i.e. not enough running clearance. Rattling sounds are condusive of to much clearance. When we set correct running clearances on bevels we have to use small circular shims on the gear shaft behind the bevels.
The bevel looked good and appeared to have been set correctly. The bevel cover had no gasket or cement so a new gasket was fitted. Next was to have a look at the cam and followers.The exhaust rocker cover was removed and a torch pointed through the darkness onto the camshaft lobes showed minimal wear. The cam followers or rockers were the adjustable type as is typical with British iron. I personally don’t like using these for racing as I have known the adjusters to come loose. The one piece rockers are better in as much they can be lightened easily and they absorb less energy, but it didn’t matter on this bike as it was not going to be caned on the race circuits. I checked the exhaust tappet clearance and found it to have .021 “clearance”, way to much! These should be .008. With this sort of clearance a lot of clatter will be audible. Also valve opening times will be delayed and closing times will ensue to early.
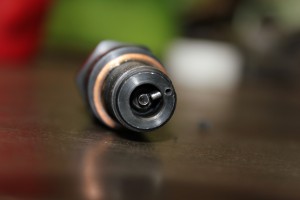
Inlet clearance wasn’t much much better, reading .019″ as opposed to the correct .005″. The rocker boxes were cleaned of there old gaskets and new ones fitted. The gaskets had been fitted initially with blue Hylomar, there is no need for this as original cover gaskets are thick and pack down well as long as the screw threads are ok and not stripped. A look at the ignition system under the inspection cover on the timing chest revealed points ignition. I don’t mind them but they do require regular checking and they are fiddly things of the past and the condenser was knackered on this duke.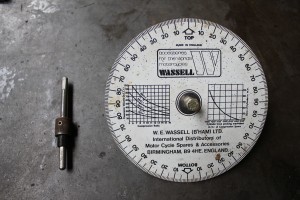 Timing disc, top dead centre probe, and electronic beeper sorted the ignition timing out. Regarding the electrics, the plug was an N.G.K. 6 which will give good starting properties but I think a little soft and hot, a 7 or 8 might be better but may need preheating for easy starting. The plug electrode was also touching the piston crown and partially closing the gap. A copper spacer was made to bring the end of the thread near the electrode flush with the inside of the cylinder head.
a plug with a flush electrode could be used.
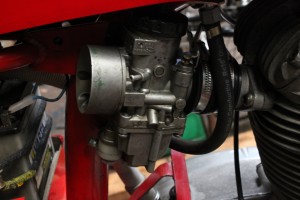 The carburettor was a mark 2 amal concentric that showed flooding problems so it was dismantled and inspected. the float needle valve rubber tip had gone hard so this was replaced. The needle had a piece of copper wire wound around one of the grooves and soldered into place, a bit odd.
I replaced the needle and fitted the correct clip. All jets and orifices were inspected and cleaned out with high pressure air.
The fuel taps were cheap’os and leaked as did the hoses that had crimped clips, don’t use them, use good quality jubilee type clips.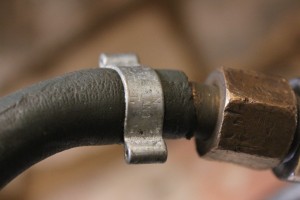
The rear underside of the petrol tank had a split in it and was weeping fuel, this is really not good as the rear of these tanks are sometimes supported by sponge or some type of high density foam. the sponge or foam will soak up petrol and a little blow back in the carb due to cam overlap can catch it alight. Fix leaking tanks and don’t use foams. Use rubber sheet or rubber tube to mount tanks as they won’t absorb fuel. Check carb settings, battery voltage, choke on, fuel on, and pull back on compression stroke and push, “bang” she fires into life.

Pingback: polo pas cher
The bike in the photo is not a Mach 1 they are all ‘Narrow Case’ this is a ‘Wide Case’
Please ignore/remove previous comment- I now see it is a Narrow Case- sorry!!
Read with interest your comment about the spark plug coming in contact with the piston. I’ve got a 1964 Mach 1S that I’ve had for years. I’ve always used 1/2″ reach plugs but they don’t wind up with the electrode flush with the head and 3/4 inch reach plugs are too long. So did you use a 3/4″ reach plug with a copper spacer?
Do you know if this is common with these engines? It’s never made sense to me that the length of thread on the head doesn’t result in the electrode being in what I consider a standard location.
Regards,
Phil
Hello phil, a thick machined copper washer would have to be made, do not make then from alluminium as they bed down during the heating and cooling process. also the heat builds up in side the plug electrode if it is not a copper washer.