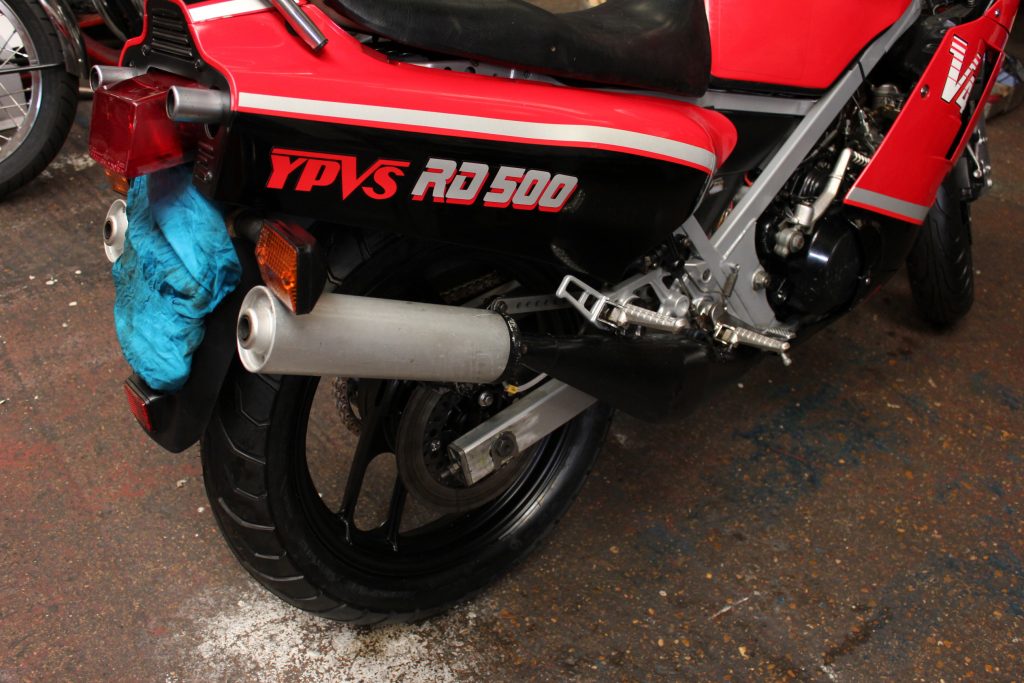
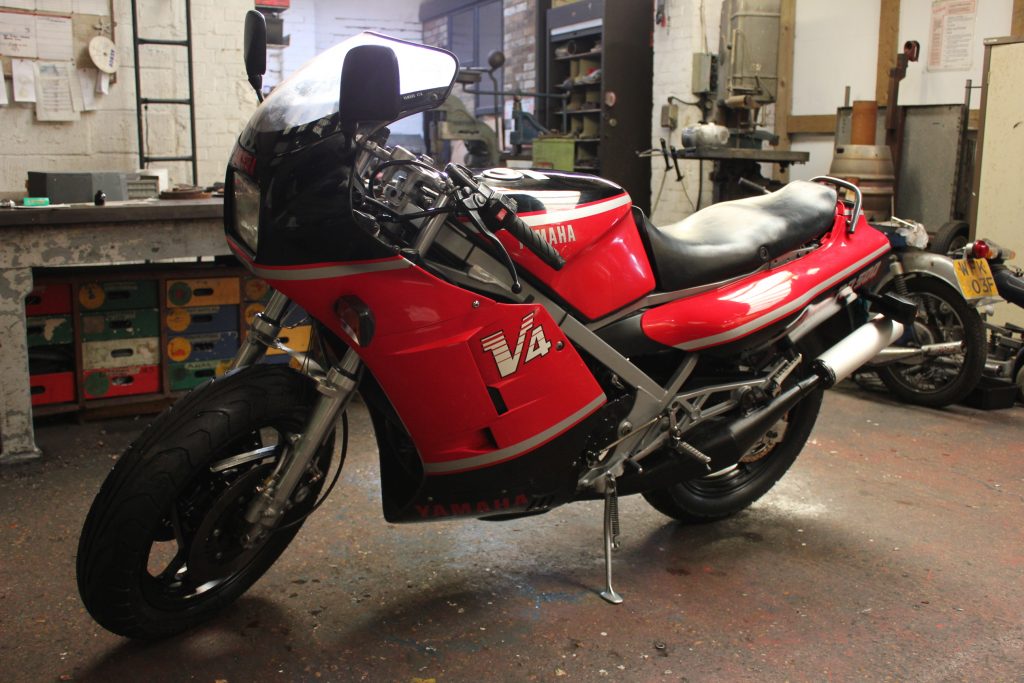
A RD 500 Yamaha RD 500 YPV5 1984 Bought years ago as new it was ridden and laid up for many years until the lady owner decided to resurrect the machine to working order again and feel its exhilarating performance. The carbs came to us for restoration first and when these were finished the lady owner asked us if we could put the rest of the bike into its former running condition. She said the engine had been checked out and that it had been fitted into its chassis.
The bike was delivered As a rolling chasses and promptly delivered with loads of parts that needed fitting although the wiring loom had been loosely fitted although the loom seemed to duck and dive in between bits that it shouldn’t do. The wiring isn’t such a night mare as there is lots of Hitachi type plugs that are not interchangeable will only plug into its mating part. Cable routing is imperative whether it be electrical or control cables. If you map out the control cables wrongly, you will find that they operate heavily and if you lay the electrical cables in the wrong place you will find yourself battling with wiring, trying to reach the components that they need to plug into.
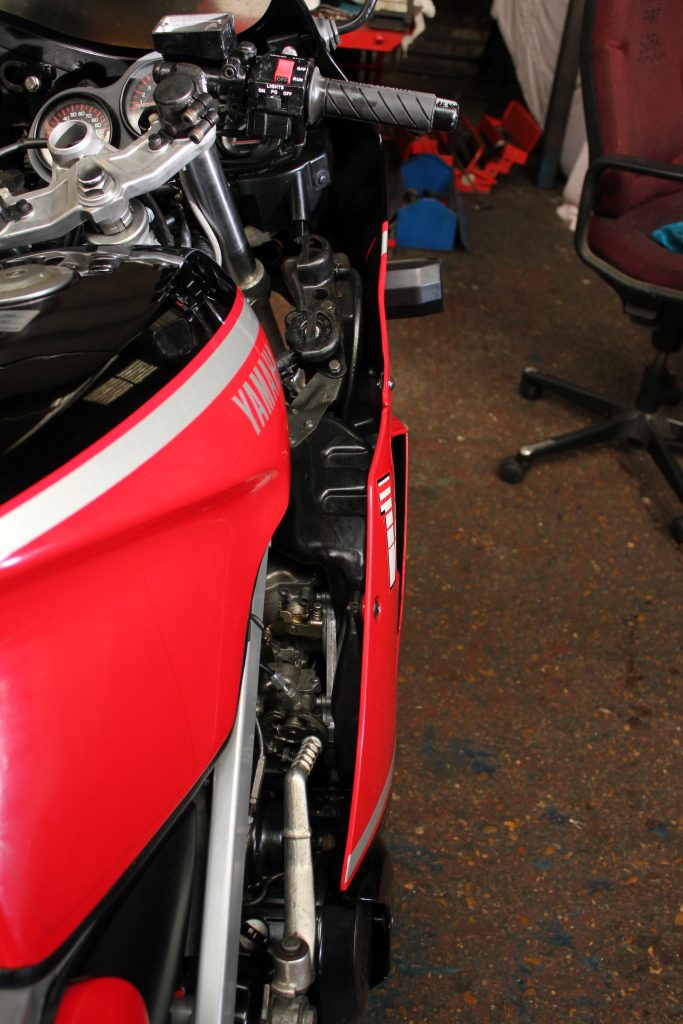
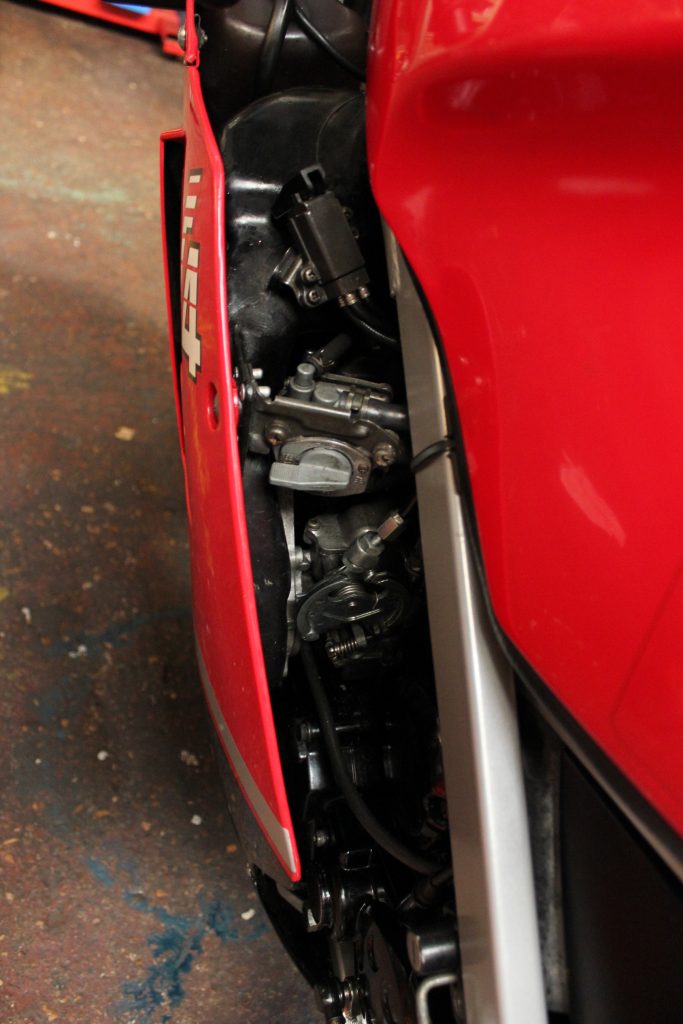
I thought that my Honda VF500 was a bit of a battle to get all the cabling routed properly but the RD 500 is a little but more intolerant to any deviation from what the workshop manual says. Care full reading of the manual is essential to stop you back tracking to find out what has gone wrong and leading you into lengthily rectifications. Everything fits very tightly around the engine area as well as a host of lubrication tubes. The official Yamaha workshop manual is not an ideal pictorial piece of work to aid you in fitting all of the lube tubes or fuel tubes so some background on working on one of these machines is essential or a good degree of common sense in lubricant systems and coolant workings. There is on particular fuel feed pipe that bridges the right hand bank of carbs with left hand bank, If you take the simple routing for this you will find that the pipe is about 20mm too short if you rout the pipe behind the two thick water pipes at the front of the engine you will find it would fit exactly.
Such parts as helmet lock and horn placement seem to be overlooked in a descriptive way but a very good look at the picture in the manual may give you give you a hint, its a bit like “Whereswally”. The battery cover is a rascal to fit as there is a microscopic amount of clearance to get it on. I have picked up on all the difficult parts to fit as there wouldn’t be much interest in reading about how I mounted the side panels for instance. All the other parts are easy to fit including the close fitting exhaust. There is a lot going on around the hot exhaust so watch that wire routing. All in all this Yamaha is an attractive bike and they fetch very good money but they are expensive to restore but becomes a bit easier and a little bit more tolerant to slight rerouting as you work onto the rear end of the bike but be careful.

These bikes are good for 135MPH with 85BHP to back its punchy performance up. Based on the back of an array of race development bikes that performed admirably on the circuits at home and abroad the Yamaha RD500 per CC performed very well and was pitched to the ever awaiting public to get a flavour of its power on the road scene. Yamaha capitalised on the “RD” logo and produced an array of different CC bikes for the highway all around the world. They never disappointed the buyer as I was one of them owning an RD 350LC that I bought from a rag dealer not far from where I lived for £10 and it was a runner but was marked out for a theft in the near future so as to not let me get the full flavor of what it had to give.
I had to listen to all my mates say how good there Yams were. I never bothered with Yams as they were so stealable so I settled with stripped down Cespas and Lambos and cowed in the future to procure an RD of any size. I’ve worked on loads but one never came my way. The YPVS system on the 500s work really well although a little unorthodox in my mind but here is to experimentation and leading the way ahead with developmental design.
The frame had been silver powder coated as were he wheel rims and the engine was fitted although the arterial water cooling pipes wanted hooking up to the radiator and expansion tank. Another bone of contention was the front brake master cylinder as it refused to allow me to bleed the system even though I had fitted a new seal kit. I removed the seal kit and found that the seals where slightly different in size and there is a thin one way valve washer that sits behind the first seal to enter the master cylinder bore that was bent. Beware some of these kits as they can lead you up the wrong track. I installed a modern Triumph master cylinder and bled the front brakes in 2 minuets. The rear master cylinder was also suspect so I found a new one in the of parts supplied by the owner but it was different so I purged some parts off the old one and installed them on the new one but I retained all the internal working parts. This done and the break bled easily.
The clutch cable goes into a magnesium casing that can be removed or fitted with the full fairing installed as one may need to change the primary sprocket. The clutch cable is easily routed back to the control lever. The final drive chain is an “O” ring one and link less also would be adjusted to give 15mm slack. The primary sprocket although a little rusty was left in situ as the lock washer wouldn’t take any more folding up on its edges to lock the nut. A new sprocket was supplied by the owner but no locking washer even though the old sprocket showed no wear.
The fairings were fitted with the correct chrome plated dome head screws with the plastic washers behind there heads. If fairing screws are fitted without the plastic washers high pitch vibration will cause the screws to bed into the fairings, after some usage of the machine you will find white powder around the screw heads. Wind screen plastic screws always go hard and brittle after about ten years, you will never be able to tighten them up to the correct torque without them breaking. The front indicators after fitting the fairing are a bugger to fit unless you’ve got “ET” s fingers. I would love to see the build sequence in the Yamaha factory as I would guess a restorer would be way out. Beware of all i report as your project will probably be expensive and will take a lot of thought. This one is not for the beginners.


