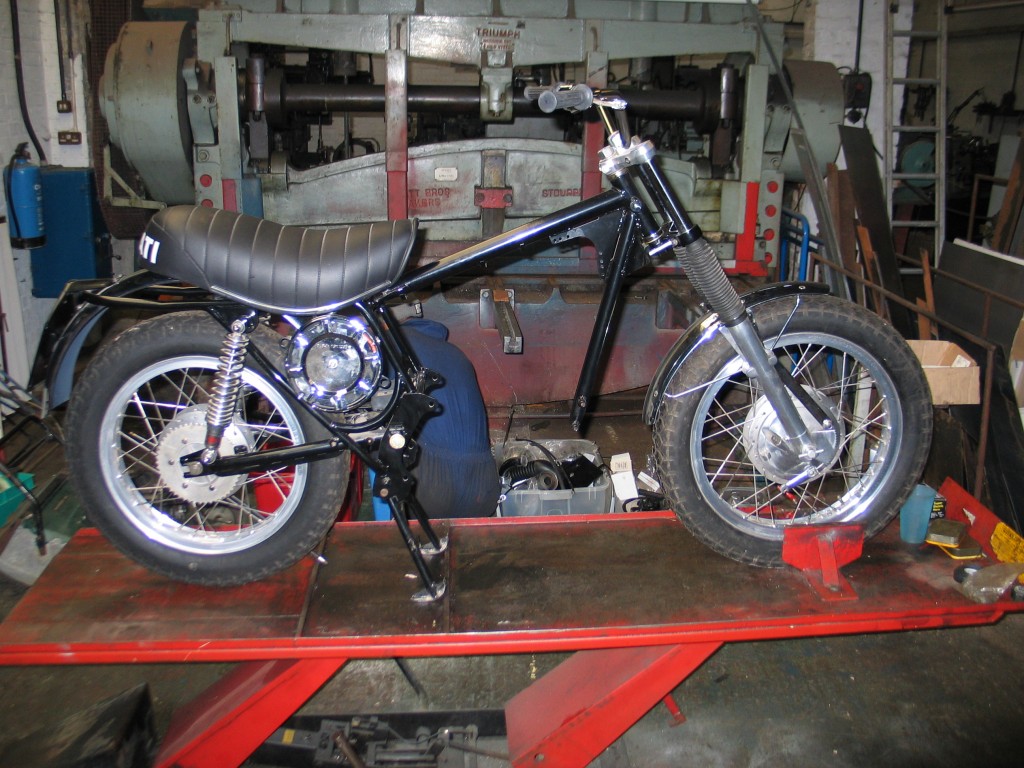
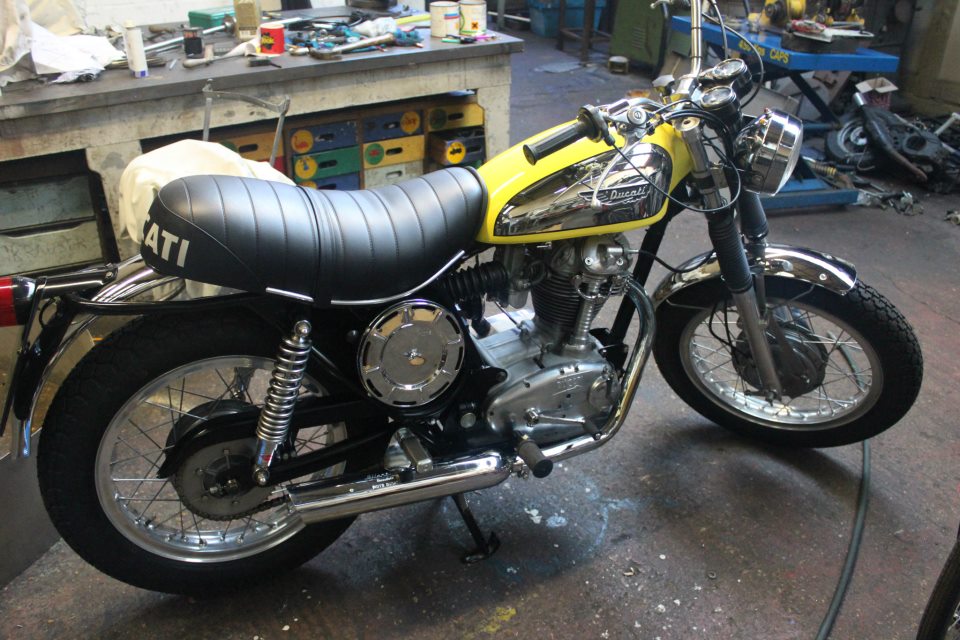
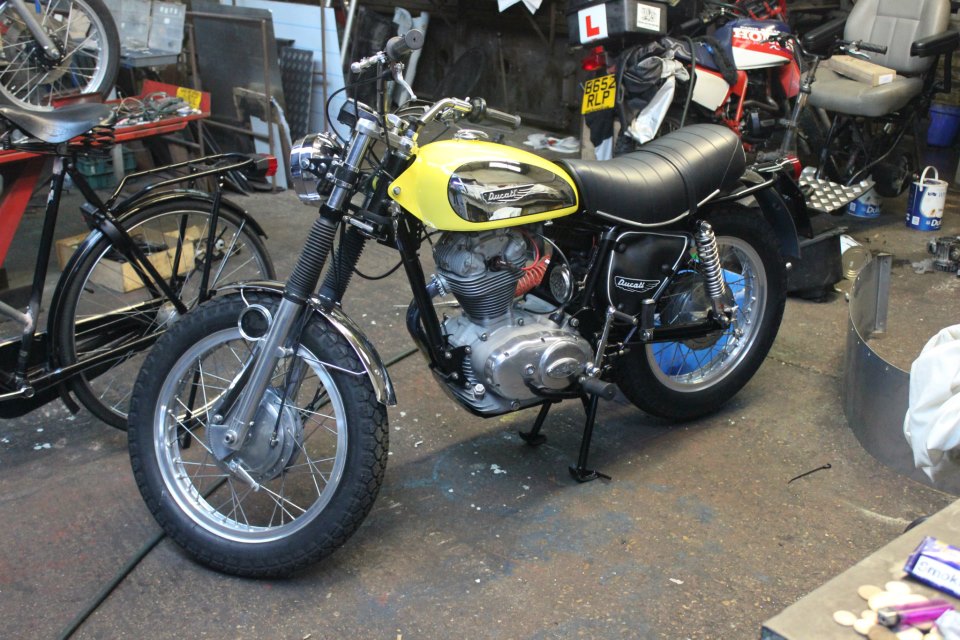
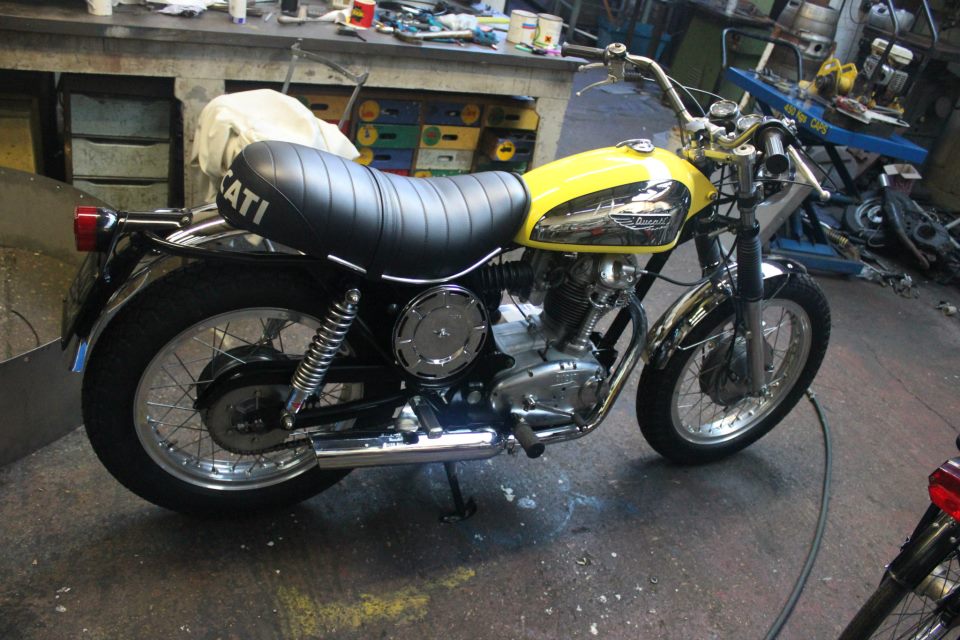
The bike was delivered to us as a rolling chassis plus 2 boxes of engine parts and frame fittings, the engine was in a total nut and bolt strip down and all was jumbled up.
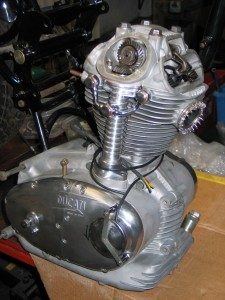
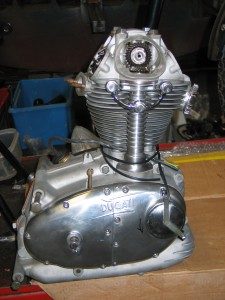
The first thing to do was to rebuild the engine . The cases were not too bad with the usual stripped threads on the outer cases where the castings are never quite thick enough for the usual over tightening of the cover screws. A common fault with these outer case coverings is when someone puts a load of goo to seal them and when the screws are tightened they hydraulic the 6mm threaded holes bursting them apart. We can weld repair these. Rocker covers seem to receive the same bad practice of thick gasket cement and over tightening.
When building a Ducati single one has to abide by the strict shimming process that can be quite time consuming but if done properly will create a sweet working engine. Another thing to look out for is the condition of the crankshaft.
The usual thing to look out for is the sludge trap that is quite commonly nearly completely blocked with hard compacted sludge that normally needs drilling out.
Worn woodruff keys can cause damage to the alternator side of the crank, and on the bevel side of the crank spindle there is a thread that I have seen butchered so many times.
All the engine was to be put together using a new full gasket set also all the seals were renewed. Seals should be changed even if they look unworn. Stainless steel cap head screws were used to replace the original screws.
Another thing to watch out for is the kick start mechanism that is buried under the gearbox compartment: i.e. a bolt.
It is easy to leave this bolt out when building the engine and then to find out the whole engine has to be completely stripped down for the sake of a kick start mechanism stop bolt.
The camshaft and followers had an easy life in this particular engine and only needed dressing in with a stone. The complete engine was aqua blasted to give it its fresh out of the foundery hue.
The engine complete and everything torqued down carefully it was time to shoehorn it into its cradle and bolt it in.
The chassis has been painted by the previous owner who had bought it as an unfinished restoration, it was probably those shims that put him off, all of the other parts that needed painting were painted along with the frame. All we had to do was to bolt everything together. This job was not that easy as the paint was very thick unlike the original thin Ducati paint that was applied to all Ducati’s of the period. The side stand that fits to the front engine plate didn’t fit, it seemed to be off a different model.
The carb was refurbished using a slightly different media in the aqua blast cabinet to bring it up to its original factory look and all the guts were renewed.
Cables were the next part to be done, and when finished they should lay in nice looking lines which seems to be condusive of this model.
Electrics are the bugbear of ducatis even the more modern ones from the 1980,s, they would need fiddling with in the future when the machine had a few thousand miles on it. The owner wanted 12 volt electrics and in the box of bits I found a new Boyer Bransden kit. I also assumed that the Motoplat stator was 12 volts too, not so, it was 6 volts and there was no way to modify it , as it was potted in hard red phenolic plastic.
I purchased an electrox 12 volt open wound stator that would do the trick with 140 watts to boot.
If the original stator had been a 6 volt open wound one, a simple looping of coils could have solved the problem and gave 12 volts with 75 watts. The rest of the wiring is quite simple and basic and is easy to hide away to make it look tidy.
An awkward little job to rebuild the original engine kill switch that had been completely taken apart and deriveted, but we can rebuild these to better than standard.
Here is an email from a different owner of a Ducati 350 Sebring. this will give you an idea of how we opporate.
From Macolm
Can I ask your advice . I am about too replace the piston On my Ducati 350 Sebring . The manuals I have read all say to get the engine ar TDC .and then remove head and barrel ,the engine is still in the frame . My laymans reckoning is that there would be more workable space with the engine at BDC . Would you kindly send me advice . I have had this Sebring for some time ,and finding `anybody` to talk to has been problematic ,can I contact you in future for advice etc
From me
what I do is get the head off on compression stroke tdc and remove
head then bring piston down and keep an eye on how far the half dog moves. bring the piston down to nearly bdc and pull the barrel off. if you take the piston right down to bdc the half dog may pull or turn round the wrong way and then you will have the job of timing all the valve gear in. hope this makes sence and is helpful.
From malcolm
Thank you Terry ,that makes perfect sense .
Where is your workshop.
From me
the workshops are at biggleswade town center in Bedfordshire, youll never see another workshop like it in the uk. cheers terry

