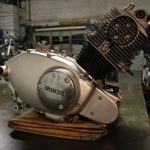
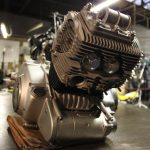
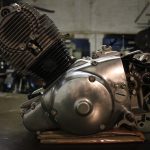
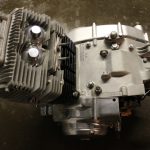
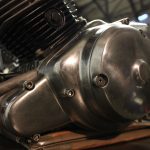
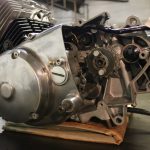
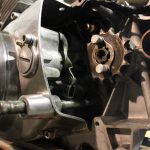
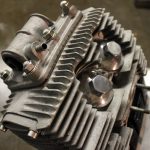
The little twin 150CC is as usual, easy to work on as all multi cylinder Honda’s are.
This little beast came to us in the poor external condition when delivered by the owner. I thought it a good idea to remove the top end in front of the owner wile he had a bit of time to spare, head off, barrel off and the pistons where in prefect order with no ware to the barrels. I was given the order to restore to new condition.
The first part was the strip down of the engine, and no surprises, all was typical Honda layout. The castings were released from the internals and put in the vapour blaster. Because the early Honda were not pressure cast, particularly heads, barrels and crankcases they don’t clean up great as there is usually staining in the cast material. Early Honda castings were not dye cast under pressure ensuring a close grain which would not readily oxidise. Early Hondas such as the black bombers and Benlys were not pressure cast. When blasting this type of metal it is difficult to get it perfectly smooth and blemish free. A good finish will be obtained using shot blasting but this process opens the casting to very bad oxidisation due to the high velocity of the grit dimpling the surface, this increases the surface area of the material and thus increases the amount of ion exchange between the material and the atmosphere “causing rust” although this doesn’t effect aluminium for long due to its oxide layer acting as protection to further oxidization, Steel doesn’t have this property and will eat into the metal if no further finish is applied to the material such as paint or oil.
There was no hold up in the restoration as we hold a lot of Honda gasket and seal kits in stock. The picture shows what I have done in so many hours. All the nuts and bolts have been changed over to stainless fittings as originally supplied by Hap Jones in the USA. So you can’t say that’s not original. The cast iron barrel was shot blasted and then heat proof black sprayed. This engine had languished in a barn for years but the internals were all in excellent condition with no ware, having the mileage of 20,000. It obviously had regular oil changes.
The gearbox layout and all the associated internal parts had Honda written all over them including the sifter mechanism. There are a couple of niggly bits if you are not working from a manual, it can be placed in one of two positions. The chains have links fitted and the valve timing sprocket has one off set hole out of the 3 holes. When setting the valve timing the slightly out of position hole must be set at twelve O cock and the zero stamped on the gear must also point in the 12 o clock position when the flywheel generator is set off the “T” mark which will be aligned with the fixed pointer. The ignition timing is effected by aligning the “F” for firing mark on the rotor with the fixed pointer and then the points are set to just open. Typical Hondas, easy.Really there is not much else to mention about this very simple engine that would suit a newbie at engine rebuilding.
The position of the ignition timing cam will be obvious as the points plate will only fit in one position as a green wire from the rotor coil will restrict the plate and only allow it to be sighted in the correct place. When fitting the timing chain link, be careful as there will be much digging and delving in the engine nether region and much cussing.
If the valves require inspection or grinding in then prepare your self in replacing the little collets as they are tiny and awkward to refit. A screwdriver that has been magnetized will do the trick of getting them home, but you will need another driver that is unmagnified to push the collets off of the magnetized driver and seat it in the collets holder.
Although there are factory Honda workshop tools for working on this model, the only tools required is a 14×1.25 mm bolt 25mm long to remove the rotor and a trick valve spring compressor
The cam chain is best changed whenever rebuilding and the cam chain rotates anti clockwise so you will have to place the link spring clip in the right way, IE closed end facing to 9 O-clock, the starter motor chain can be joined a lot easier if the starter motor is not fitted as the chain can be eased onto the little sprocket and then the mounting screw can be tightened to tension the chain. The starter chain rotates anti clockwise so the link spring wants fitting the same as on the cam chain.

