I write my blogs when ever I get a bit of spare time and this is not often as will be seen by the previous date of the last blog, so here we go.
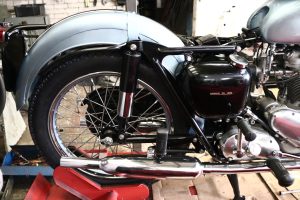
In the 1970s dad bought a triumph café racer as was the norm in the day, riders did not want something bog standard from the early 50s as it had to have that go faster look. Dressed up to the nines with an old Dunstall seat and tank unit and AMC heavyweight forks and hub surrounded with genuine alloy Dunlop rims, you get the picture.
It was the first bike I had ever been on and I hold Fond memories such as getting a belting shock off the magneto and a greatest of leg burns off of the Dunstall silencers. I had sensitive skin at the age of 8 years old.
Dad raced the bike in the classic motorcycle racing club in the early 80s when I started racing on my Benelli and Itom, he did really well on it as the engine was very well cared for as well as all the peripheral parts that adorned it. A big crash at Mallory park put an end to racing and the Triumph duly found it’s place in the workshop having been eventually taken apart in big lumps to find out what the problem was that caused the accident as dad and I was sure that his riding was not at fault. Dad never crashed out of a race unlike me, allways pushing the bikes past there road holding limits. The bike sat there for several years before dad passed away with a damaged heart valve that was likely caused by one of the seven broken ribs that were sustained during the incident.
The bike languished and gathered dust and spiders until mum decided who was going to get the bike. Unfortunately it didn’t come my way as it went to one of my bothers who showed nothing but a financial interest in it. Several months ensued and I found it advertised locally for sale, I only discovered it by accident while perusing a site for another bike that I couldn’t afford to buy, I call it wishful shopping. I duly phoned the advertised number and found it was my brother who was selling it. £300 procured it without, oddly the crankshaft, but hey the crank was swapped out years ago and found its place at the heart of a dragster when dad used to sprint the triumph in its cafe guise.
Having now got the bike still in lumps I had to try and find time to work on it, impossiblity ensued as I was always overrun with work at the factory making money to pay the bills. My passion has always been working on and building engines rather than all of the tin bashing and chroming and painting and such. So I dedicated as much time as I could in between jobs and in the evenings while the wife was busy doing her own stuff. I knew I was going to find it hard to do all the other stuff to complete the bike. The only major part to complete the engine was the crank. I had only just got a computer and learned how to do eBay in 1998 when I saw a crank advertised in Chile of all places and it found its way back into the Tiger 100 engine for the cost of £50 all in.
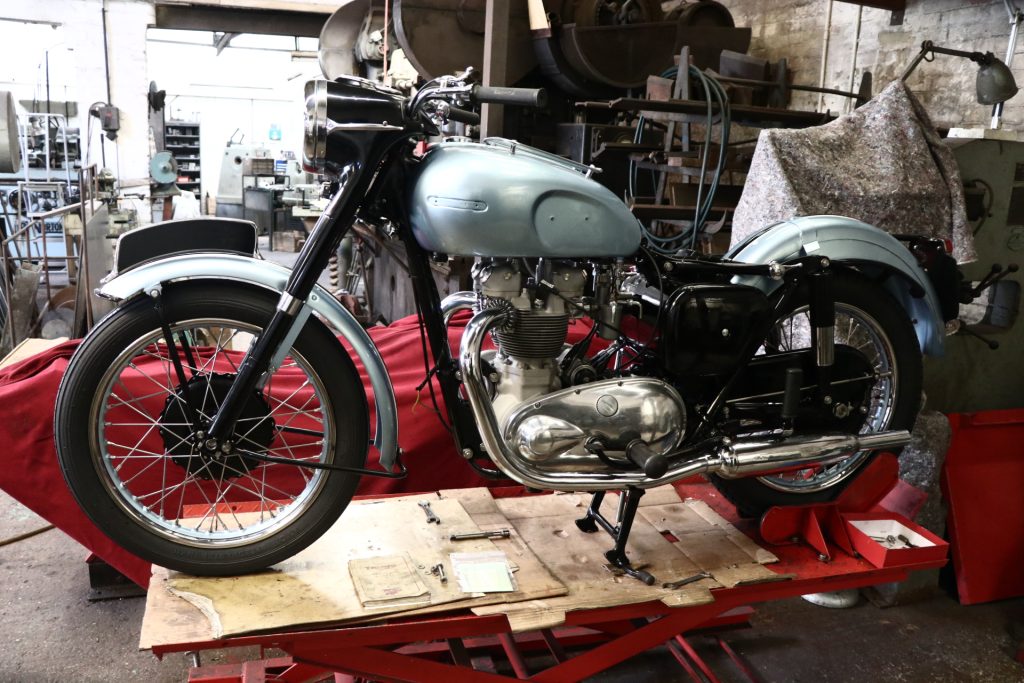
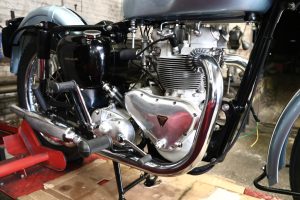
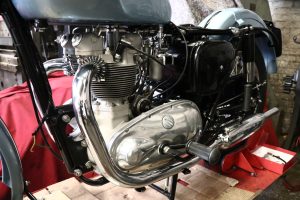
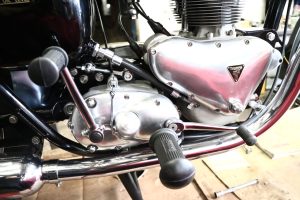
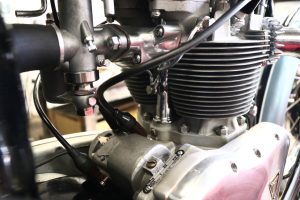
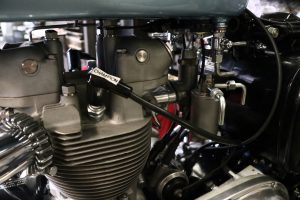
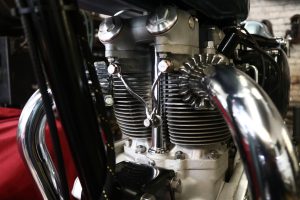
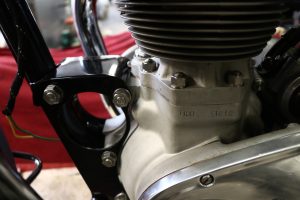
I thought if I built the engine with all stainless steel fittings it would still look as fresh as a daisy when I had time to find all of the other parts that I needed. The engine was then put away resplendent in its many stainless steel parts and fittings. The stainless steel grade that I used was 316 food grades as there was an abundance of it in the work shop as we were doing work for the medical and food industries. Parts such as exhaust stubs, screws, buts, bolts, studs and oil pressure tell tale unit were all made from stainless steel all exactly to original sizes.
The engine languished in our store rooms and was forgotten as I found whenever I had a break in the work schedule I would be getting on with some of my easier and less time consuming projects. After 4 of, what was meant to be retirement projects were completed I remembered the triumph, maybe a calling card from my dad saying don’t forget my bike. Dad used to say how lovely the paintwork colour was on an original bike. I found some free time on my hands after 2 divorces and the kids finding there own roots and me hitting nearly 60 years old and the engine 24 years older since its restoration and having no mortgage so the free time was going into the rest of the restoration.
Where do I begin as there are so many original parts that I had to shop for, I wasn’t worried about the cost as I was going to dedicate input to what I would think Dad would want at the end of the day.
The first thing to do was sit down and write a list of what I needed and then where to find the parts avoiding the pit falls of bad aftermarket garbage that doesn’t fit properly as I have found on the many triumph restorations we have built in the past for customers. A good way to start was to go online and get a free parts manual and go through the pictures of parts and list their part numbers. Certain parts for the 1954 Triumph Tiger 100 and the Tiger 110 were only fitted for a couple of years such as the pie crust front hub and the tank with no chrome centre strip down the middle.
I was going all out on originality except for the stainless parts I made and was going to make on the restoration journey. I went on Google and punched a few part numbers in and found they were listed on Ace Classics. I put my first order in and while I waited for the parts to come in I decided to strip the frame down and get it painted. On stripping the frame I found that the swing arm pin was loose in the cast frame lug. When the swing arm was fitted there was 12 mm side to side play at the tail end, I think this was the cause of Dads accident.
“Now”, we run into our first dilemma, the hole in the casting was .006″ oversize and bellmouthed to .008″ , the pin wasn’t worn in the area that it fitted into the cast lug but the pin was worn where it went into the swing arm bushes. Oversize pins were not going to properly solve the problem of putting things back to standard plus it would break through the bearing surface finish of the swing arm bushes when reamed out to take the oversize pin and it seems plus size pins are not available, this seams like a common conundrum and looking up about it on the forums there does not seam to be any clear and concise answer to the dilemma, “Sod it”, I will attend to the problem in my own way that is correct the correct way.
Mark my words, the only way is to set the frame up on the big milling machine and block everything up so everything is really level and square to the head stock bearings and bore and ream the frame casting out ¼” or 6mm to take a press fit liner with a .003” press fit, this then will need machining out to give a .0005” press fit for the new standard size pin. Swing arm pin castings usually wear between 4 to 8 thou and also they bell mouth at each end. I feel that this design is not good practice by Triumph and it is probably one of the worst designs I have seen regarding swing arms on a big bike. My way of dealing with the problem is the only way but it is time consuming and cannot be carried out while the bike is together, it is a major job but it will be better than original as the pin is meant to be size for size fit as standard in the frame casting. I made the bearings for the swing arm pin from aluminium bronze with an oiling groove. It all fitted together perfectly on the dry build. I am a great advocator on dry building when dealing with aftermarket parts as I want to build the bike to better than new with some subtle not visible modifications except the stainless parts.
The frame came back from the powder coaters as this is one of the original specs I will overlook. I don’t care what people’s ideas about powder coating are as it is better and longer lasting than stove enamel and is resilient where stone chipping is involved and dry building doesn’t readily mark it as easily as stove enamelling or wet spray and lacquer finishing. Powder coating done well and in full gloss is the best you can get.
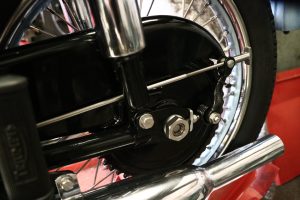
I rebuilt the hubs and upgraded the brake linings to modern non asbestos stuff and bonded them onto the 8 inch brake shoes at the front end. I fit oversize thickness linings onto the shoes as this allows me to machine the absolute minimum out of the drum to just clean and then fit the shoes to the brake plate and machine them to the exact diameter to the drum bore.
The method I employ with brake shoe machining is the only way to get 100 percent braking from any drum brake. We do hundreds a month in the factory. First I reline the shoes by resin bonding as riveting reduces braking area and it also impedes heat transference as the fit between lining and the shoe always leaves little gaps in between the rivets even when perfectly fitted and run in. I then mount the shoes to the brake plate with all its working parts and in between the brake actuating cam I put a .015” shim either side of the brake actuating cam and then I machine a mandrel true to the lathe chuck and then mount the complete brake plate onto the mandrel and machine the shoe linings to the exact bore of the brake drum. After removing the .015” shims you will find that the linings make a 100 percent contact with the machined drum bore. The .015 shims mimic the brake partially pulled on. I have used .010″ shims and find the brake linings on the brake plate snag and cockle a bit when the shoes enter the brake drum bore and it dosnt leave enough lever movement at the handle bar. Do your brakes this way and there is no running in and no hotspots or glazing on the pads. I completed this upgrade on the restored front and rear drum.
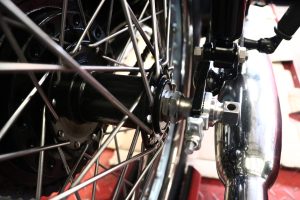
The wheel spindles front and back were made from 316 steel and were buggers to machine as the material is so tough. Most stainless nut and bolt kits are made from free cutting stainless steel and it is much easier to machine and will stain a brownish colour over time and does not have the shear or ductile strength that 316 has. But you wouldn’t want to pay the cost of the much added agro of machining 316.
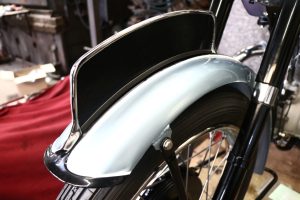
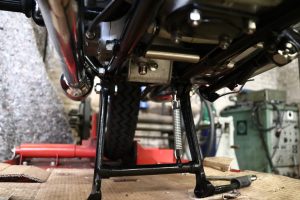
I wanted stainless rims and spokes to adorn the hubs so I procured some from the Devon Rim Company Rolltru Dunlop Profile rims and stainless spokes were costly but they are the best and no future rust to fret about. The wheels were fitted and Ace Classics mudguards were fitted prior to painting. The rear guard didn’t line up quite right with the top suspension bolt holes that also have to accommodate the lifting handle frame and seat brackets. I loosened the mudguard bottom bracket and lined the top mounting bolt holes up and then retightened the bottom bracket. When final fitting of the rear guard commences I will have to remember this sequence as we do not want any chips to the paintwork or any struggling. Building a Triumph in this way is very time consuming as you are essentially building it twice. The front guard was fitted properly, no loose fitting as you wont get the full picture. When the front guard was fitted it was found that the radius was wrong and the front stand was longer than the outside radius by 32mm, the guard needs stress releasing and a firm tug on the front stand mounting end pulled things into shape perfectly. Even though Ace Classics say that all their parts are British made this is nothing to go by as I have seen some pretty crude parts made in the UK. Ace Classics parts supplied to me haven’t disappointed in any way.
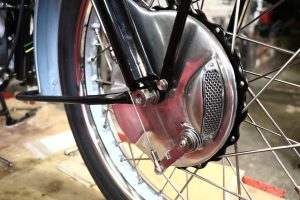
Back to the front wheel and hub, this came from a seller in Holland. The odd brake drum that I saw in the USA or the UK looked in pretty poor condition albeit they are rare being of the piecrust design. I decided to go and meet Mark at Triumph Twin Spares and after driving there I found his knowledge of triumphs in general, astounding. Mark is very helpful and down to earth and his products are cost effective in the long run. He doesn’t deal in rubbish but will sell you a really good second hand part if new is not available to keep your restoration on the boil.
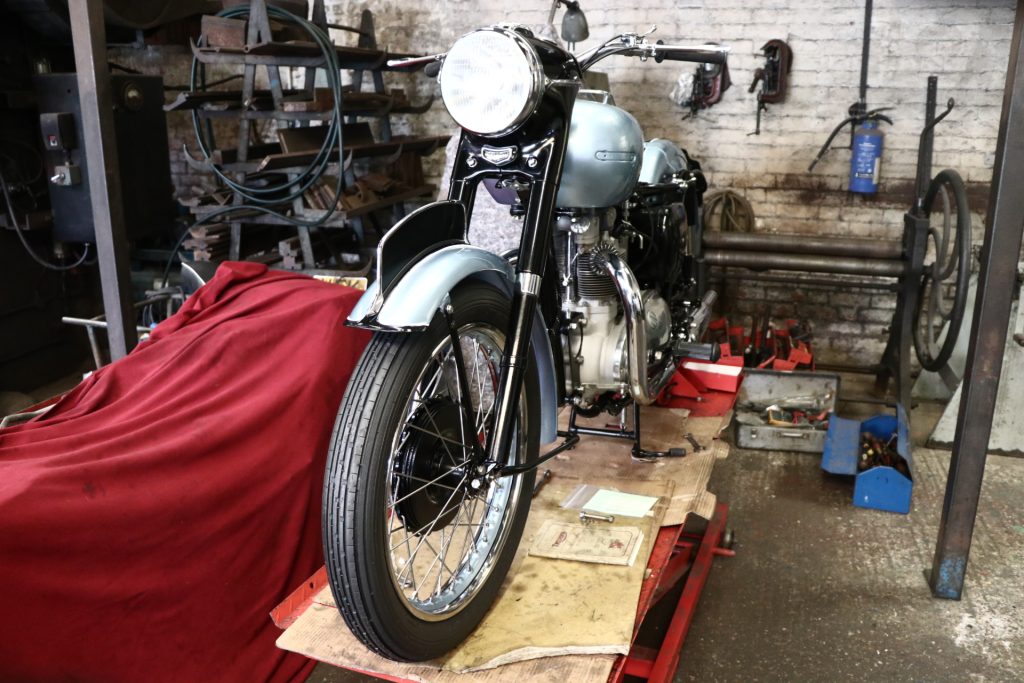
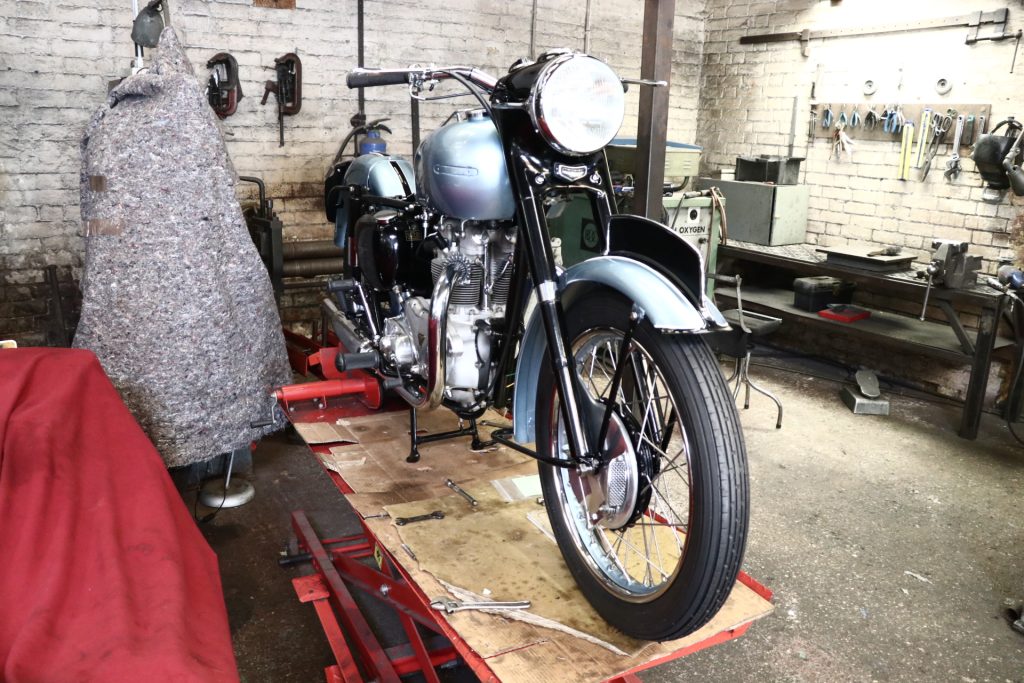
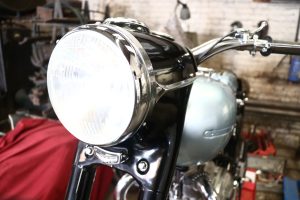
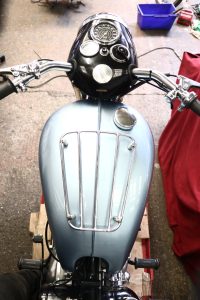
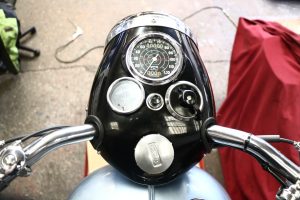
A really nice set of fork nacelles were procured from Marks company. Ace Classics also supply the nacelles as well as a few other companies. I am sure that batch runs are made when demand grows and they are made by one or two makers. Top nacelles for the 1954 Tiger 100 are not available so I purchased one from India knowing that from the EBay picture that it would only be an image of what I wanted but most of the work would be done for me before modifying it to fit. It fitted admirably well to the fork nacelles but the chrome flash embellishment holes needed filling and shifting about a 1/16 of an inch one way or another and the lighting switch hole wanted moving away from the speedometer hole, the ammeter hole was good. The steering damper orifice also needed remodelling. 4 ½ hours work in the evening with no disturbances and full focus had them shaped up and ready for painting. For me to make one from scratch would take about 14 hours as there are compound curves to contend with.
The Triumph headlight switch was astronomically priced if you could get one. Classic Bike Parts Cheshire had a Lucas replica U39 lighting switch for £26.95. To get a replica 1954 Triumph nacelle switch to look correct I made a stainless steel surround copied from a damaged Original one, you will never spot the difference as it has been mirror polished to mimic the chrome finish of the original. The correct 6 volt 2” ammeter to fit the nacelle came from Fast Eddies Motorcycle Spares, it was the original face markings for the Triumph of 1954 as listed in the 1954 Lucas parts book. When you buy a lighting switch it does not come with a retaining clip so I had to make one in stainless of course, copied from the Lucas parts book.
I bought all of the fork internals and the stanchions and lower nacelle from Mark at Triumph Twin Spares, the fork tubes were fine used. When dry building the forks I found one of the fork tubes had a little dent in it. If I didn’t have a proper tool room and manufacturing facility it would have been a major problem as it would have taken hours of mucking about to produce a half baked job. Nothing that a big long series reamer could not fix but still awkward to say the least as it has to be done by hand as it needs human input to get the feel of the control of the cut. A host of parts for the bike were bought from Mark at Triumph Twin Spares.
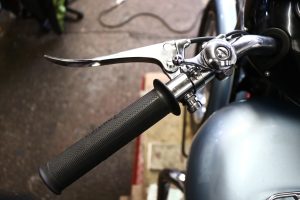
Ace Classics supplied brackets, stands, correct handlebars with the horn button hole. Levers, grips, throttle, number plate, tank embellishments, front pilot light, tail light, headlamp rims, shock absorbers and a host of other parts came from Ace Classics. Some parts came with a bit of printed paper with handy hints on parts that may be problematical to fit , this all adds up to good thoughtful service. The whole front end was dry built, cables and such were fitted also, as they need to enter the headlight nacelle rubbers nicely. Do not dry fit the horn button as this job done more than once will wring the soldered wire away from the fitting. When you fit it eventually you will ideally have to beef up the soldered joint and prewind the wire before screwing the horn button into the handlebar. If you don’t do this you will usually find that the horn will not sound. The horn was found on eBay and was not working but as long as they can be taken apart and are serviceable I can fix them and tune them. I proved it in front of one of my customers who was amazed at how many things we can renovate. The horn cost £25 and working ones are going for £120 but need restoration to bring them up to thespecifications that I adhere to.
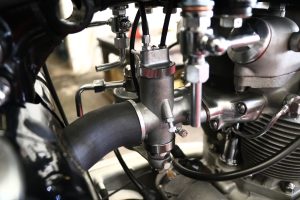
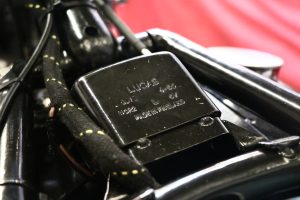
I wanted to stick to original electronics so I bought a Lucas wiring loom. These are advertised as genuine but probably made in India or china but they are to spec but the bullet fittings style are suspect as they don’t freely enter the bullet housings without easing the housing out a little with a round bit of rod. The bulbs I bought from Paul Goff are fantastic and they all have the correct British fittings. I bought a 12 V set as my dynamo will easily cope with LED’s. You will need to state positive earth or negative earth. Paul Goff’s website is www.norbsa02.freeuk.com . Feked.com supplied clutch cable and magneto control cable and the correct expensive carburettor exactly to spec. The throttle cable was difficult to find using the original part number D224, there are plenty in the USA but I found one supplier in the UK, M Compton in Bolton at £9.90. Andys Motorcycles has a few good bits as well as Montys Classic Motorcyles.
I want to harp back to the front hub from Holland, the reason why I bought it from Holland is because they are very particular in what they buy and sell and how they look after there bikes, they are also honest about how they describe the article for sale. it came from British Only Austria. What I bought was true to form but not the piecrust drum I wanted so a bit of a modification was in order. The drum itself was the correct casting and the part numbers were correct so all that was needed was to mount the drum onto the dividing rotary table and cut the scallops onto the flange of the drum and then finish the outer edges of the scallops carefully with a file. The only giveaway is that the hub looks too fresh to be from 1954 but try to prove it. The dry build now complete it was time to get parts to the painters and get a show room job done. While the painting was being done by my friend who works on paint jobs on luxury cars and collection pieces, so no worries there on quality and expertise, i thought it prudent to try and source two parts that are very difficult to procure, these being a seat and tank. Seats are very thin on the ground to date but I did find one on Google pictures at Ownes Motorcycles In Wales allbeit the wrong year and a different shape. Also the tank came from a one man band company down south who said it has been professionally relined, Hmm!. The tank undoubtedly wanted the lining removing and shot blasting and brazing up and the dents filling. When I got the tank it was as bad as I thought but not incurably bad. The tank lining was stripped using Dichloromethane; you have to have a licence to use this stuff. The tank after washing and then shot blasting and the few pin holes filled with braze proved it was indeed now a fuel receptical. Shot blasting is done because it is aggressive and will show up any weak points in the metal, ie, thinness of material that will want attending to. I then centre punched each pinhole and filled it with braze. This allows me to dress the brazed area to be flush with the tank surface so minimising the filling process. A lot of 1954 Triumph Tiger 100s and 110s are fitted with the wrong tanks as the original tanks did not have a fitting near the seat cut out to secure the chrome centre strap on. On the top of the tank there is also a made in England decal measuring 45mm x6mm in black with a black border placed opposite the filler cap on the other side of the tank centre seam. These are available from Classic Transfers.
I have looked at a lot of 1954 Triumph Tigers and have found a host of wrong parts on bikes that report to be original. Some of these parts are wrong carb fittings and taps, air lever in the wrong position, IE on the handlebar instead of left hand tube under the edge of the seat. Wrong headlamp as it should not have a pilot bulb hole. Wrong gearbox filler cap. Wrong tyres, but hey! Stainless rims and spokes and every nut, bolt and washer all with correct AF head and British standard cycle thread and led lights to boot, boy Triumph would have loved to have afforded to do this. the magneto also came from British Only in Austria and i have just restored it. Mind out for after market dynamo brushes as the carbon brushes brake down very quickly. R.K. Leighton do the best seat covers and sponges you can get. Final post to come.

